At the top of the page, you’ll see a link to Login to Request Facility Use. Click here to login.
How to Login and Submit a request
Go to http://www.communityuse.com/default.asp?acctnum=347993501
![]()
At the top of the page, you’ll see a link to Login to Request Facility Use. Click here to login.
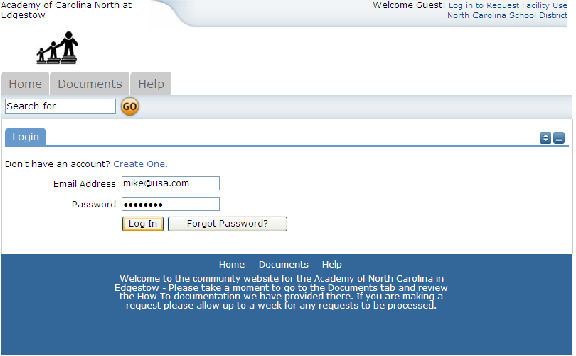
If you have already registered, enter your login name and password into the form and click Login:
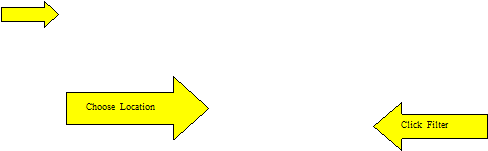
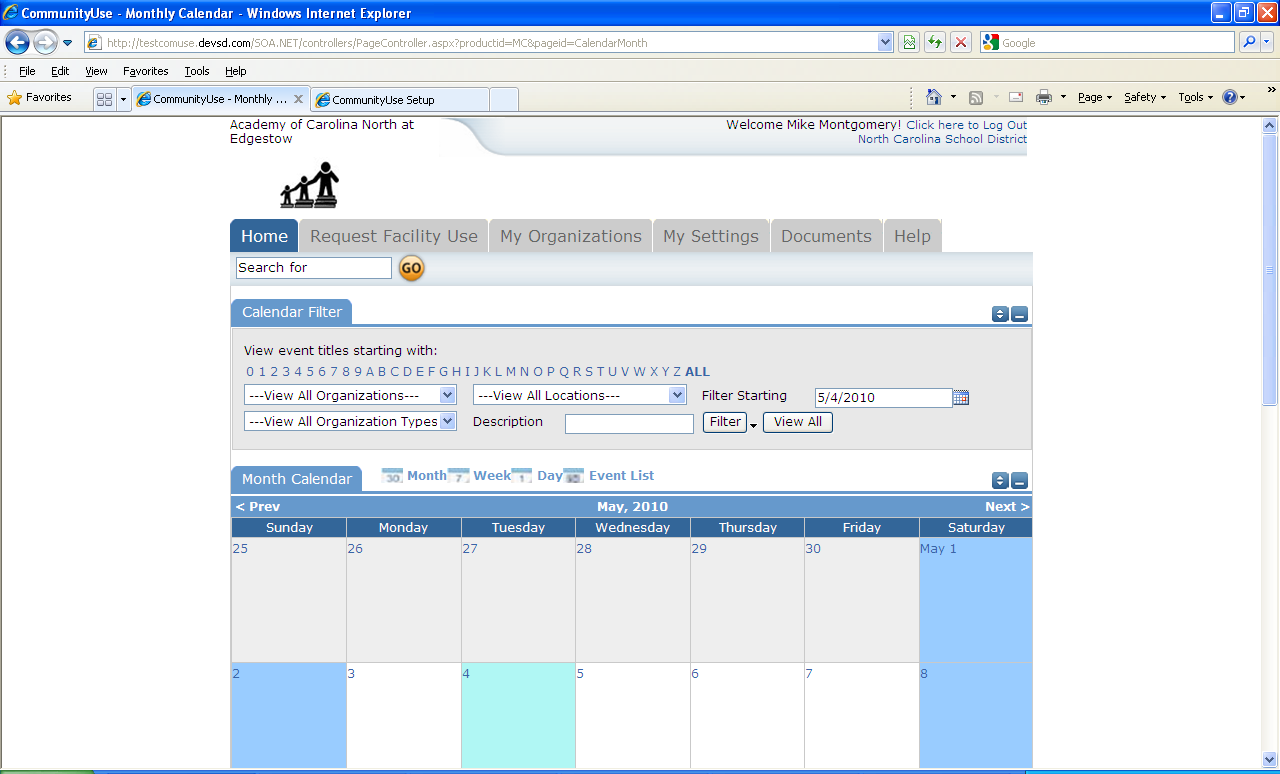
When you login, you will start on the Home tab. Here you can view the calendar. If no events are showing, be sure you have a Location selected. Anytime you make a filter choice on the Calendar, be sure to click the Filter button.

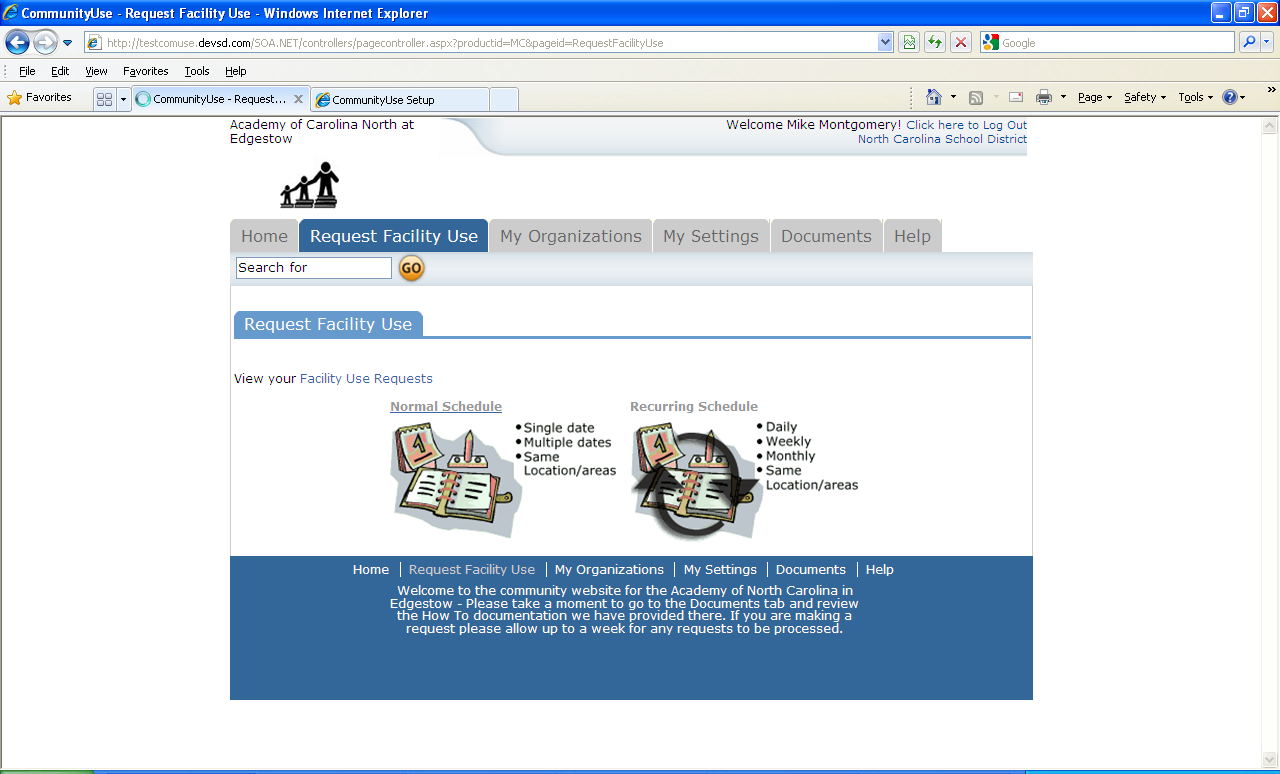
You will also see some tabs at the top of the page like this:

![]()
To begin making a request choose Request Facility Use:

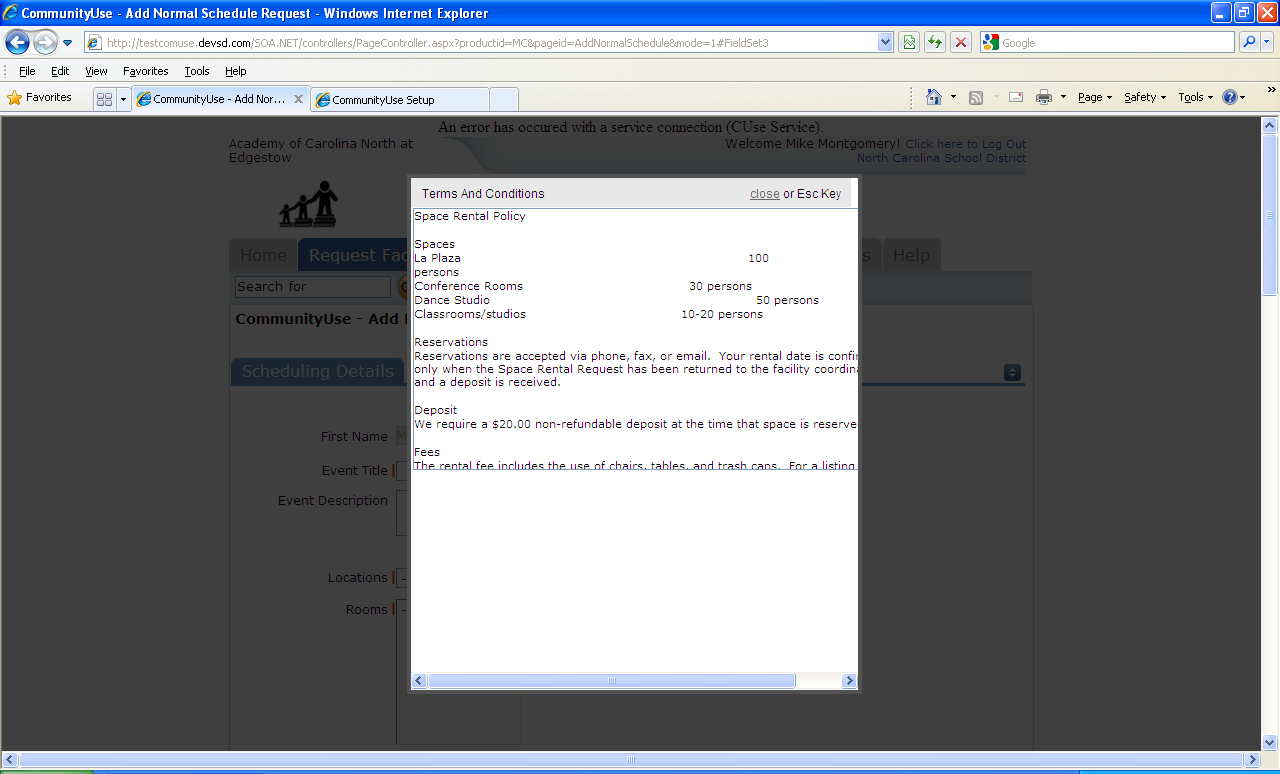
Note: if this is you first time making a request through CommunityUse, you will be asked to read the terms and conditions that the district provides. You will also be asked to verify you agree to these terms each time you submit a request.
![]()
You have two forms to choose from when submitting a request. 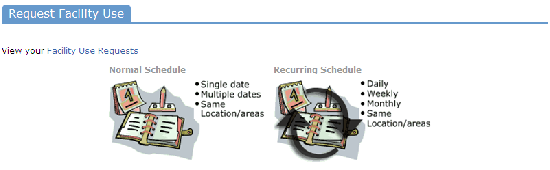
| 1. | The Normal Schedule Form is the easier to use. It will allow you to request up to 20 events at one time. All of your events should be in the same room(s) at the same time over different days. | |
| 2. | The Recurring Schedule form will allow even more events. You can choose up to 100 events with this form, and the events should be in the same room(s) at the same time over different days – and these days will happen on a recurring basis(e.g. every Monday and Wednesday for a month, or every Sunday for a year, etc.) | |
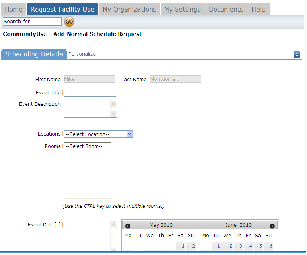
Let’s start with a Normal Schedule.
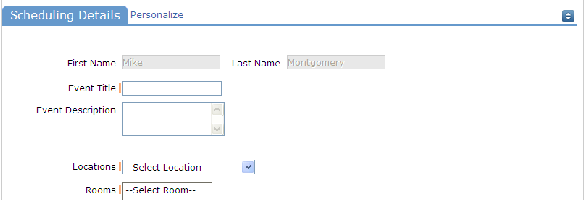
You will be asked to fill in some required fields. These are indicated with a red vertical line
You can also ‘hide’ sections of the page by clicking on the ![]() icon. You can use this feature to help minimize scrolling and to keep track of sections of the request page you have already completed.
icon. You can use this feature to help minimize scrolling and to keep track of sections of the request page you have already completed.

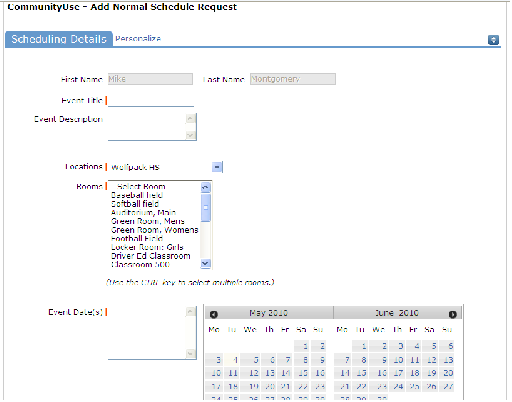
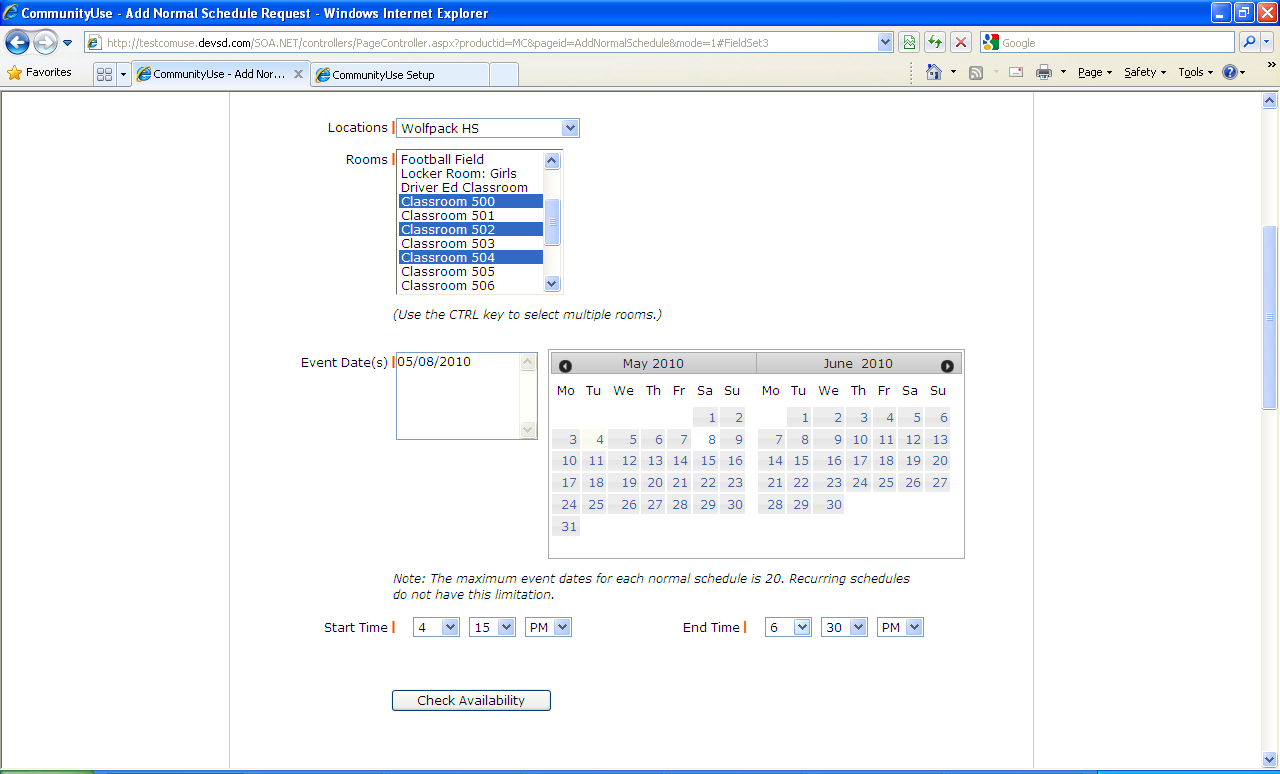
![]()

| 1. | After you’ve entered your Event Title, | |
| 2. | you will be asked to choose a Location & Room. You can select up to 50 rooms by using the CTRL key to highlight your choices. | |
| 3. | You can enter the Event Date by typing in the date, or clicking it off of the calendar. | |
| 4. | Then enter your event time. Times must be in 15 minute increments, so be sure to enter the broadest range of time required to accommodate your event. | |
| 5. | You are required
to | |
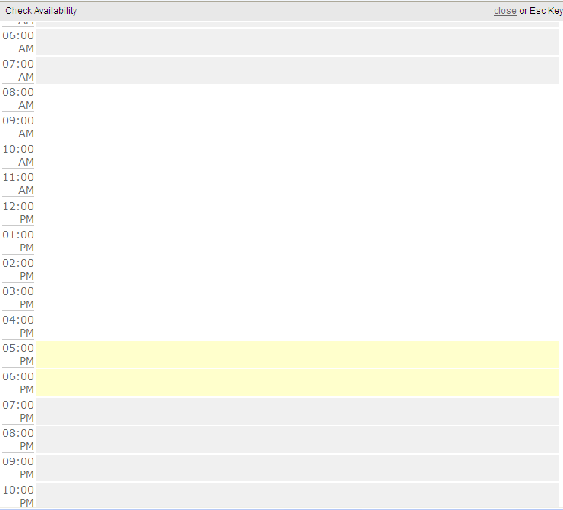
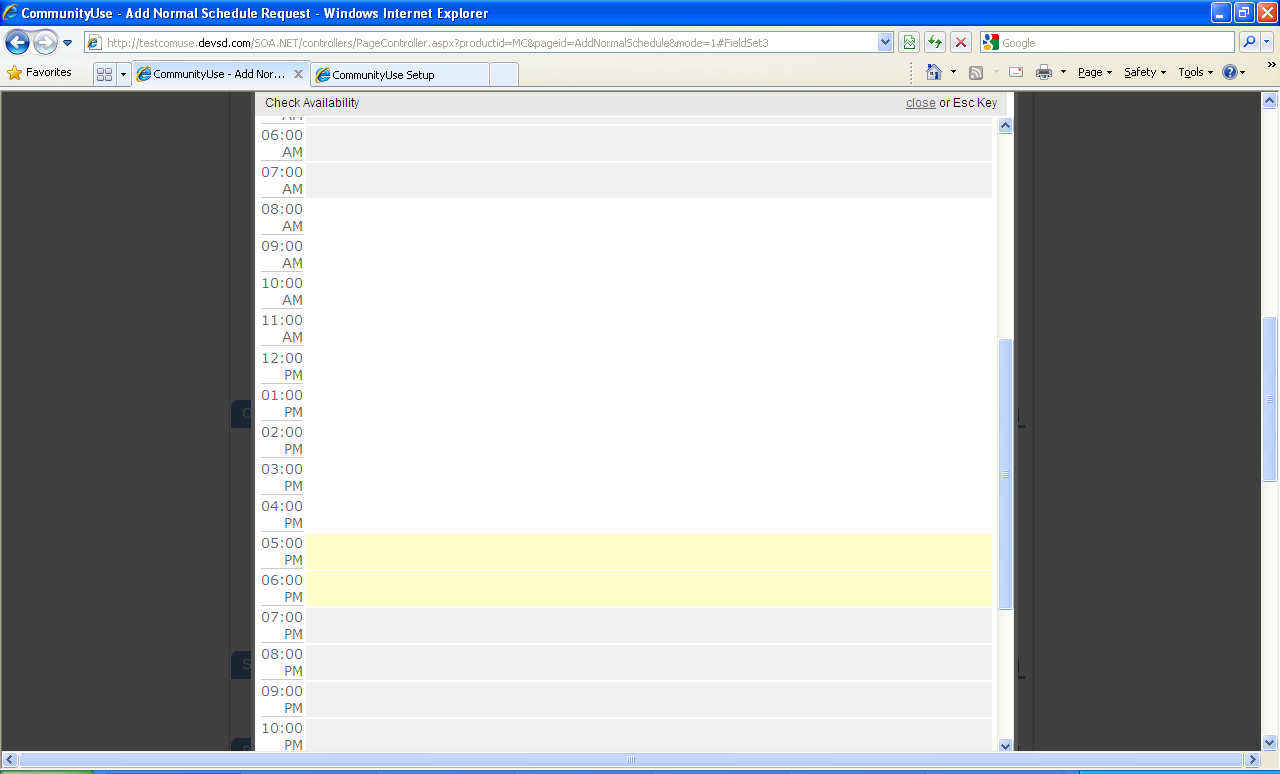
This feature will look for conflicts with events that have already been approved on the calendar. Your requested rooms will show at the top, and the time frame you’ve requested will show in a yellowish color. If you see a black or red X in the box – there is already an event scheduled at that time. The system will allow you to proceed with entering your request even when a conflict is present. This will likely slow the processing time of your request, and may result in the request being declined based on district policy. Please consult the district or educational institution on their policies regarding double booking.
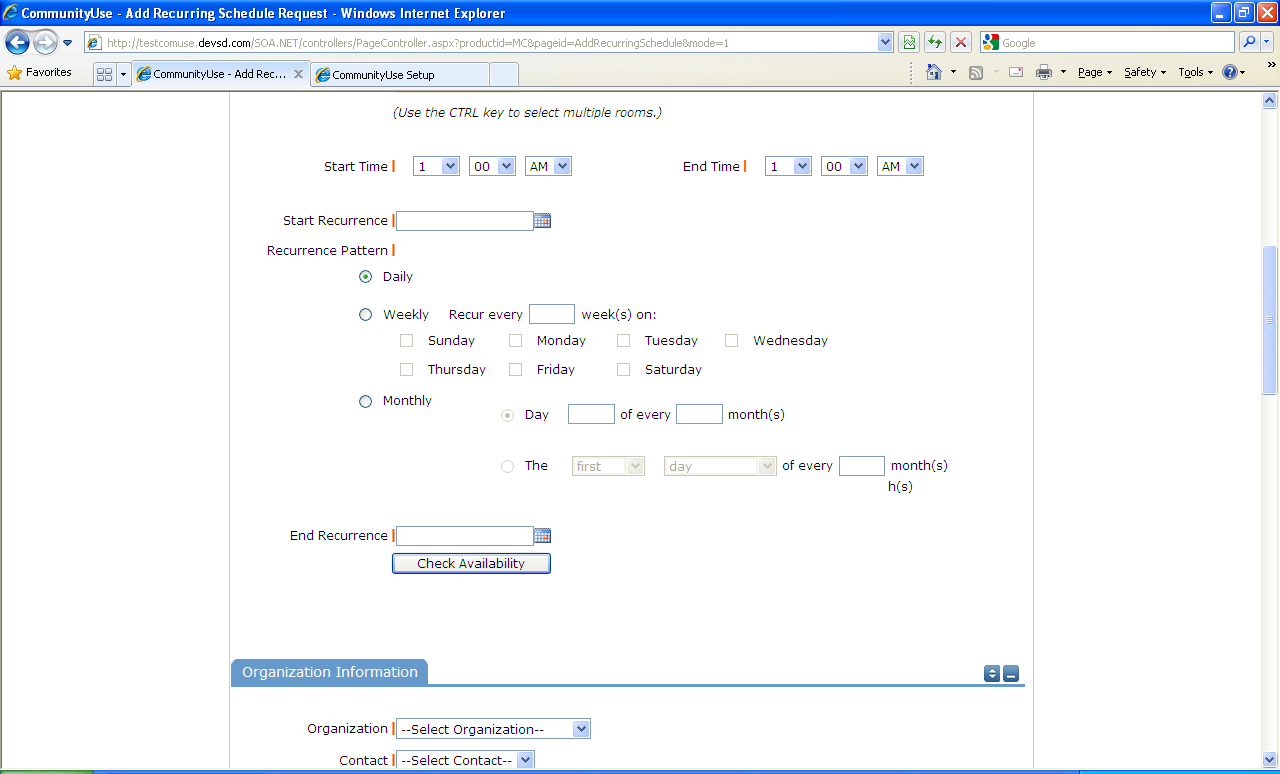
For a recurring schedule follow the same steps as above with the exception of entering dates. The date range field will look like this:
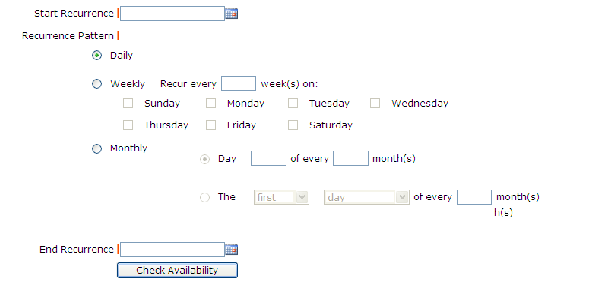
Recurrence Patterns:
| · Daily – this is every day in the date range including weekdays and weekends | ||
| · Weekly – Use this for meetings on specific days of the week. Choose Recur every “1” week for your weekly meetings and then choose the day of the week as well | ||
| · Monthly – You can have a meeting on a specific date(like the 15th) of each month, or you can choose the second option which allows you to choose a floating date like the Second Weekday of Every 1 month. Choosing every 3 months would be a quarterly meeting and every 6 months for bi-annual meetings, etc. |
At the bottom of the form, you will be asked to enter a Signature – this is your Email address that you logged in with. You are also asked to confirm that you have read the Terms and Conditions.

You can use the Scroll button on your mouse to read through the document.
After you have completed all required fields, entered your email signature and agreed to the Terms and Conditions, click “Submit” to enter your request.
If your request was successfully entered, the webpage will reload and you will see a message like this: You should also receive an email notification confirming your request was received. Save this email and refer to the Schedule ID number should you have any questions.
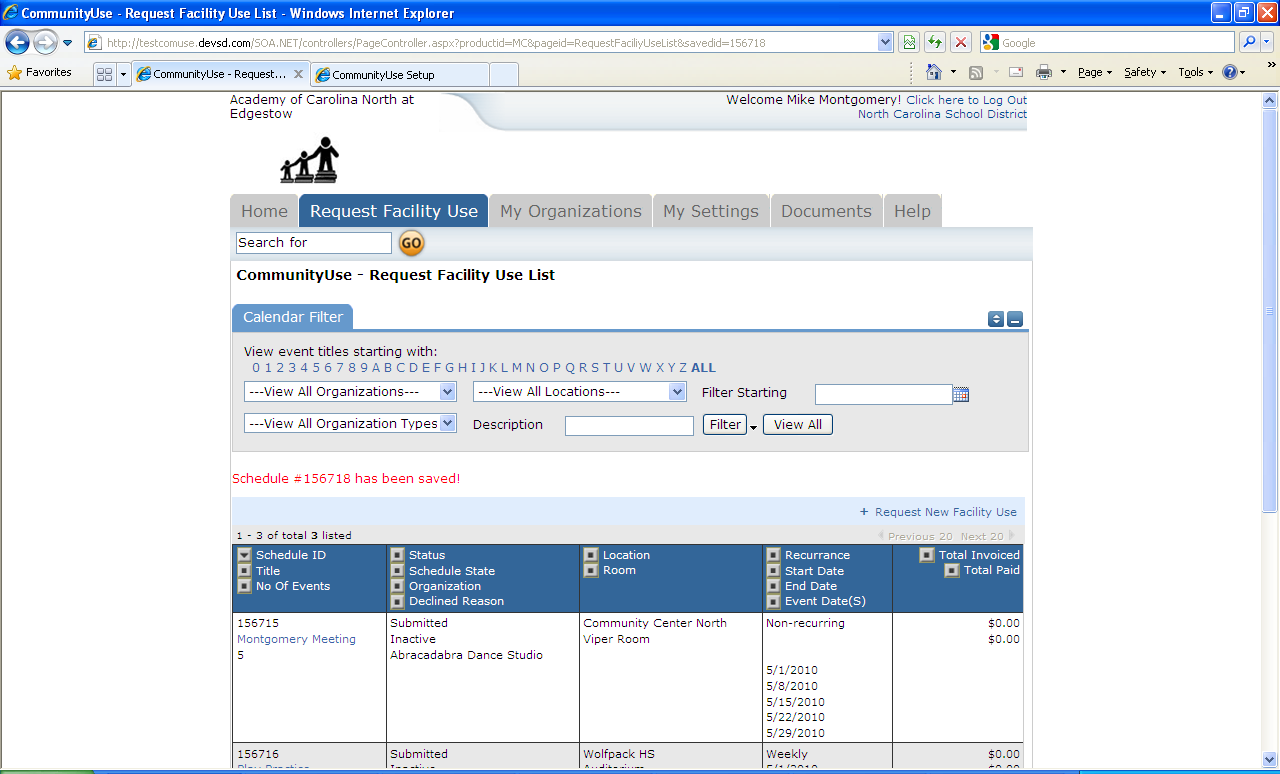
Please allow an appropriate amount of time for the request to be processed by the district. If you have any questions, save the email and refer to the Schedule ID number.
The My Organizations Tab:
You can come here to review the ORganziation that you have been approved to submit request for.
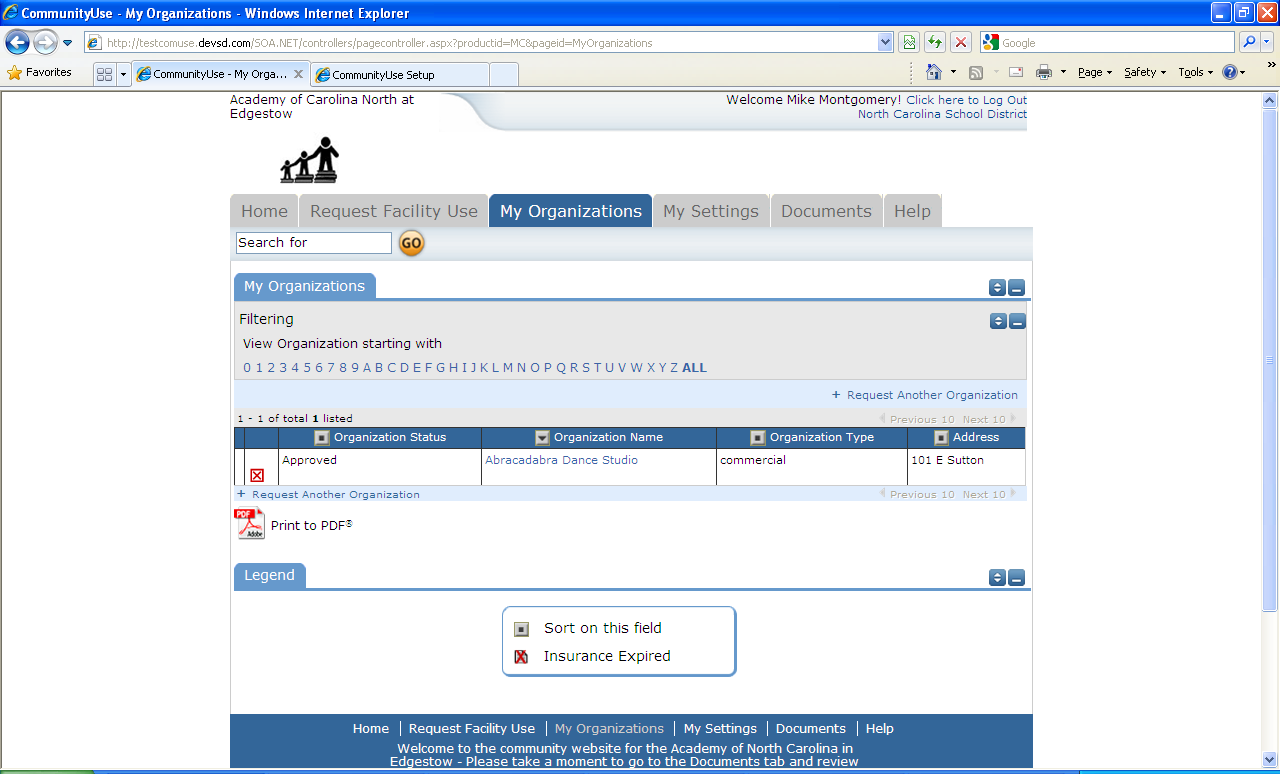
Clicking the Organization Name will take you to this page, where you can verify Address and other important information including Insurance Info. Please contact your CommunityUse administrator if any of the information is inaccurate or out of date to have this updated.
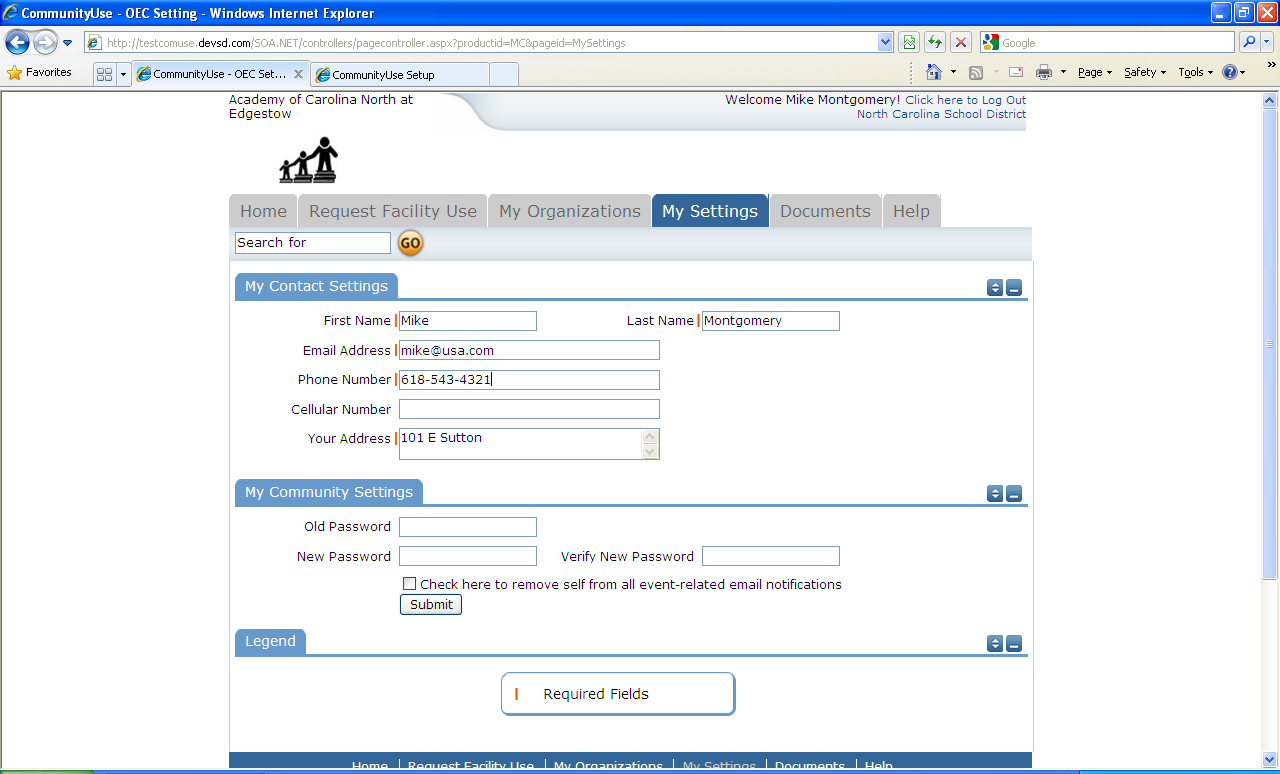
The My Settings Tab:
You can come here to update your personal contact information or reset your password.
![]()