 Commons
A Comprehensive Guide to the Jackson High School Sound Systems
By Brady Judd
Contents
How to Use This Manual………………………………………………………………………………3
Commons……………………………………………………………………………………………………4
Annex………………………………………………………………………………………………………….9
Gym…………………………………………………………………………………………………………..12
Banquets…………………………………………………………………………………………………..17
Assemblies………………………………………………………………………………………………..19
Jackson’s Got Talent………………………….……………………………………………………….24
Equipment…………………………………………………………………………………………………26
The Sound Mixer………………………………………………………………………………………..30
Commons Audio Room……………………………………………………………………………….34
If Event is Not Listed……………………………………………………………………………………35
How to Use This Manual
The purpose of this manual is to give event organizers the ability to independently set up various events in JHS.
The first three sections of this manual describe the technical capabilities of each area of the school that can run sound (Commons, Annex, and Gym). If your event takes place in one of the areas, please read the section for that area to get a general overview of the audio/video needs of that area.
The other sections describe each event that could be run at JHS that requires audio/video beyond basic equipment. Find that event and follow the steps to set up that event properly. Each section will tell you what equipment will be needed, where to find each piece of equipment, and how to set the equipment up.
The equipment section is used to describe what the purpose and location of each piece is.
When preparing to set up your event, first read the section detailing the part of the school your event is using, then read the section on your specific event to see how the setup is applied.
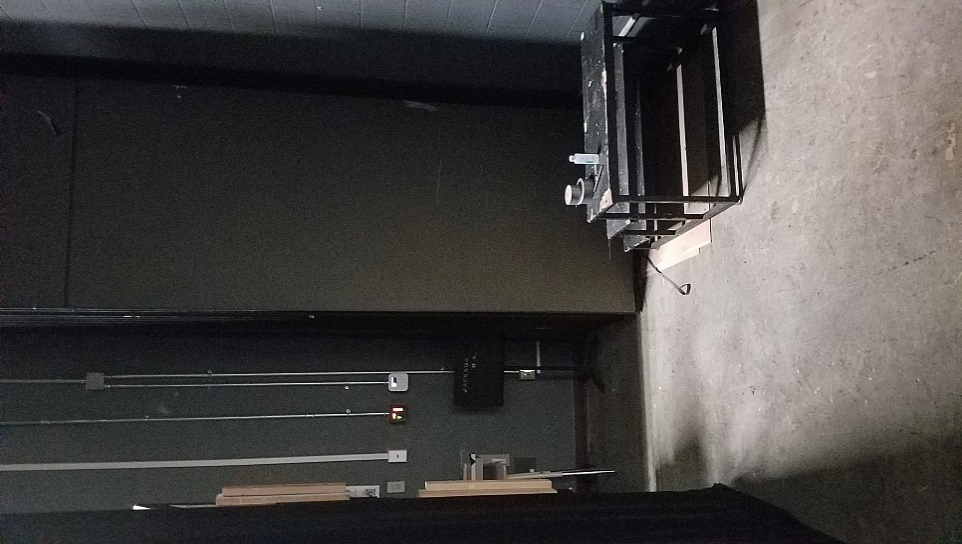
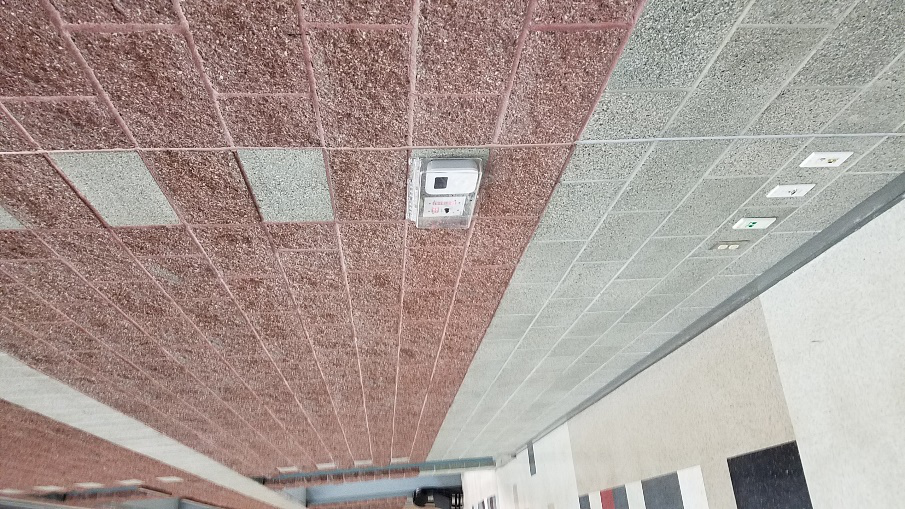
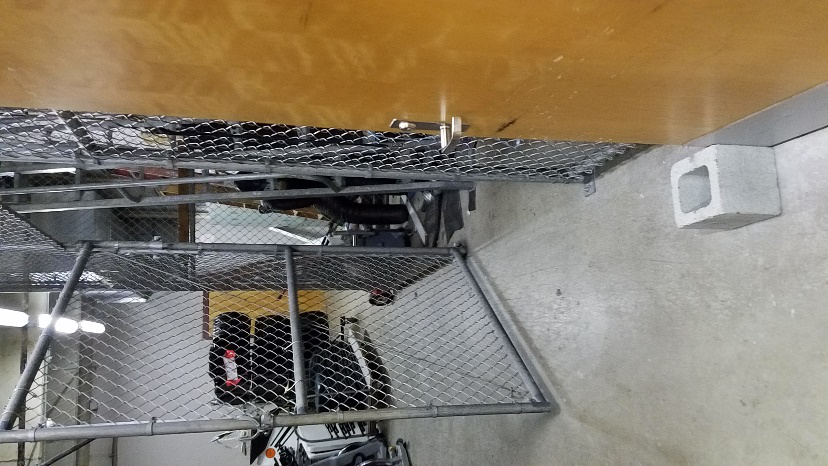
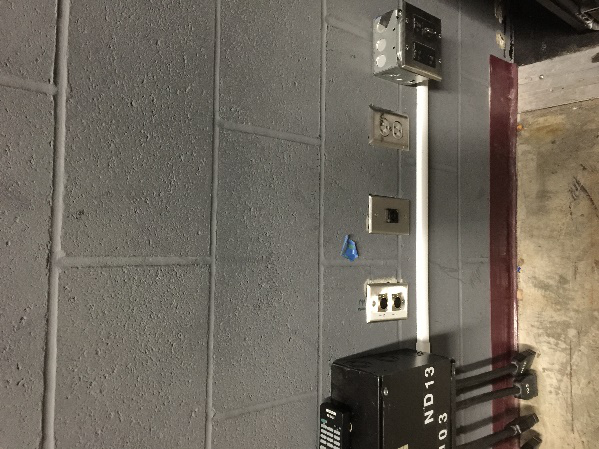
Commons
The Commons is used for several events at Jackson. The majority of audio and video comes from the stage.
The commons has a built-in sound system, but if additional volume is needed, external speakers can be used with the sound mixer. (More details in Jackson’s Got Talent)
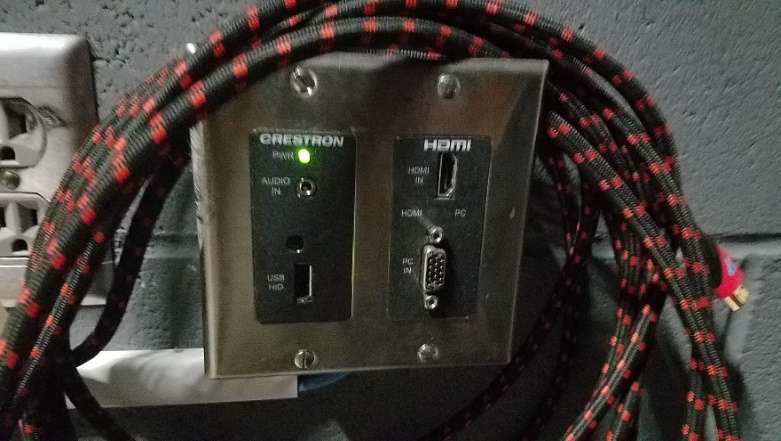
All controls can be found backstage.
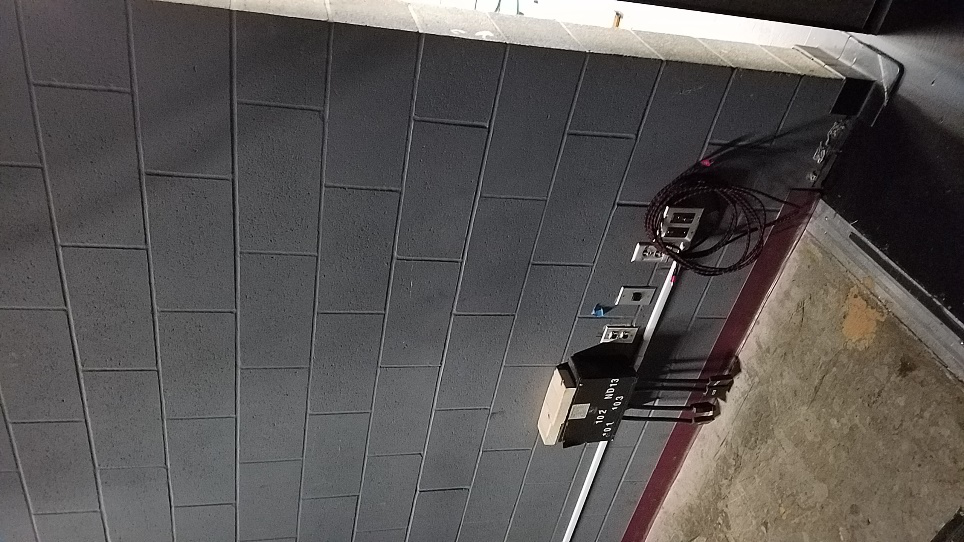
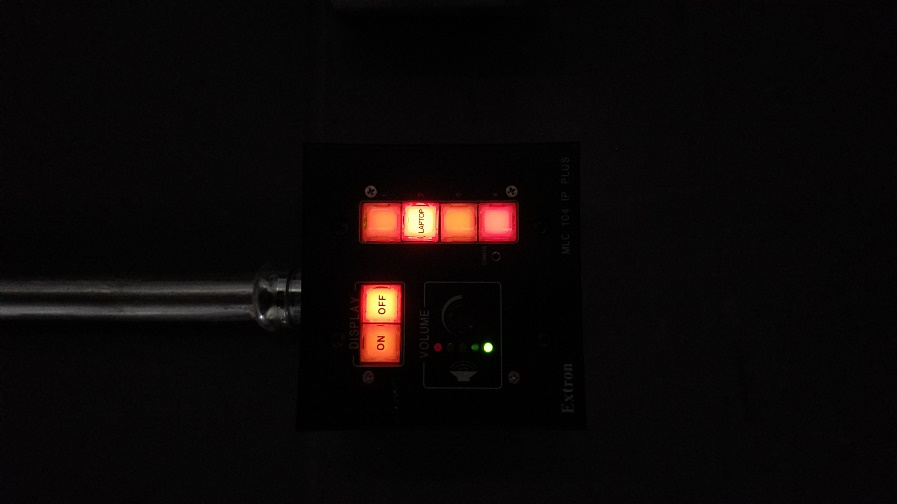
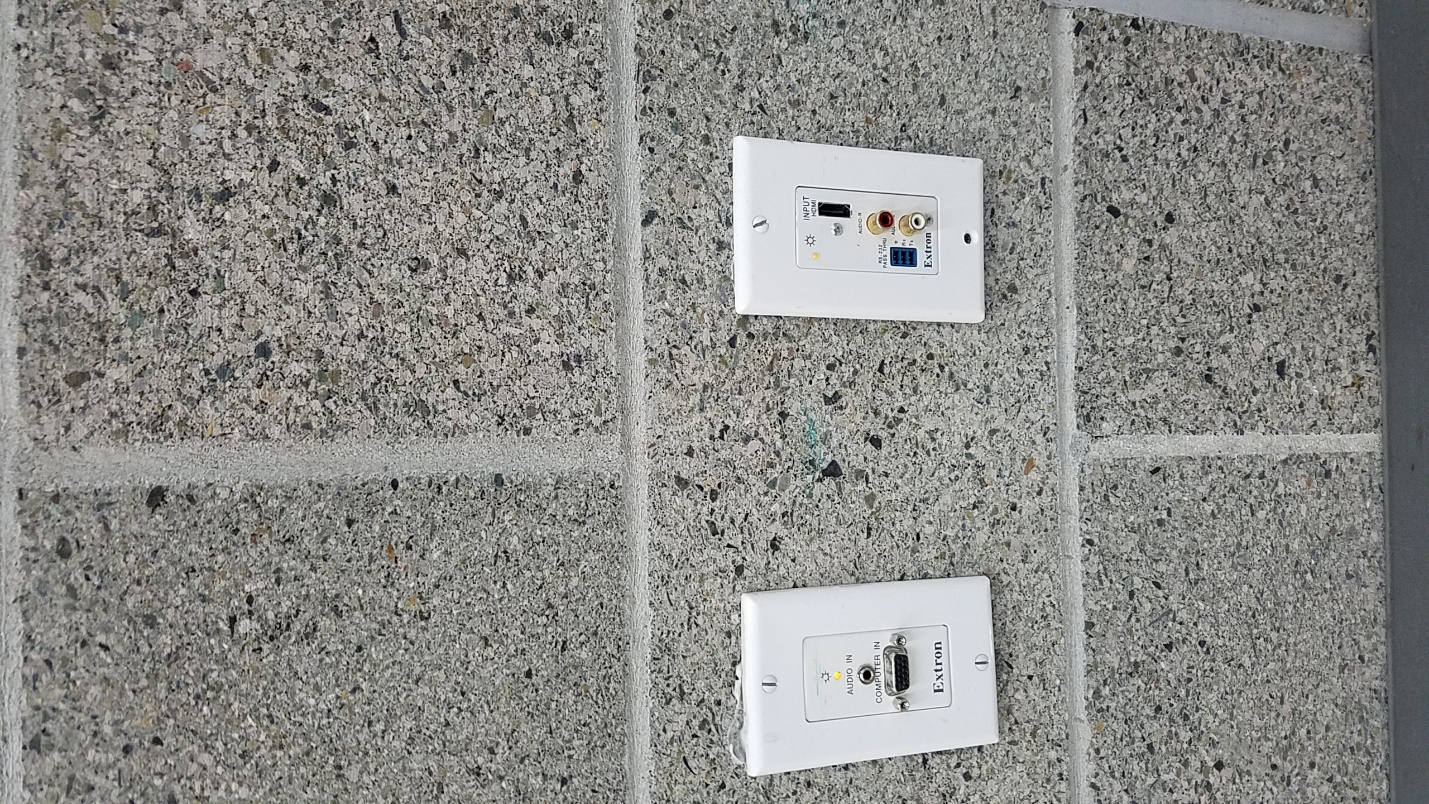
On the wall to right of the stage, there are several important controls. The first is a control panel that turns on and off the projector in the commons. On this control panel you can also select what input the projector will be displaying. It should be already set to display the laptop information, so you should just need to press “ON”
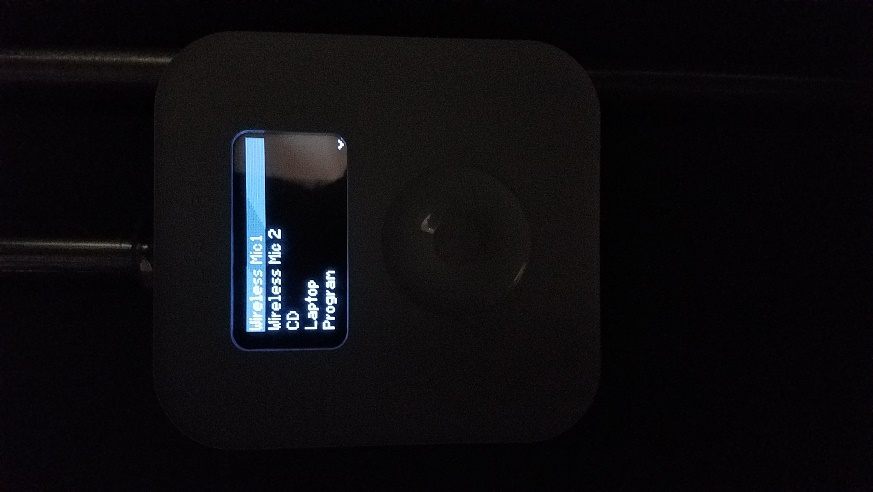
Another set of controls is just to the right of the projector controls. It is shaped like an older I-Pod and is used to control the volumes of devices coming through the commons.
Use the “Laptop” input to adjust the volume of anything playing through your laptop. Use “Wireless Mic 1” and “Wireless Mic 2” to adjust the volume of the wireless microphones for the commons. You will have to turn the microphone volume up almost all the way to get the right volume. The microphones can be found with the ASB Advisor. All you need to do is turn the microphones on (push and hold the red button on the bottom) and you should be getting sound from the commons’ speakers.
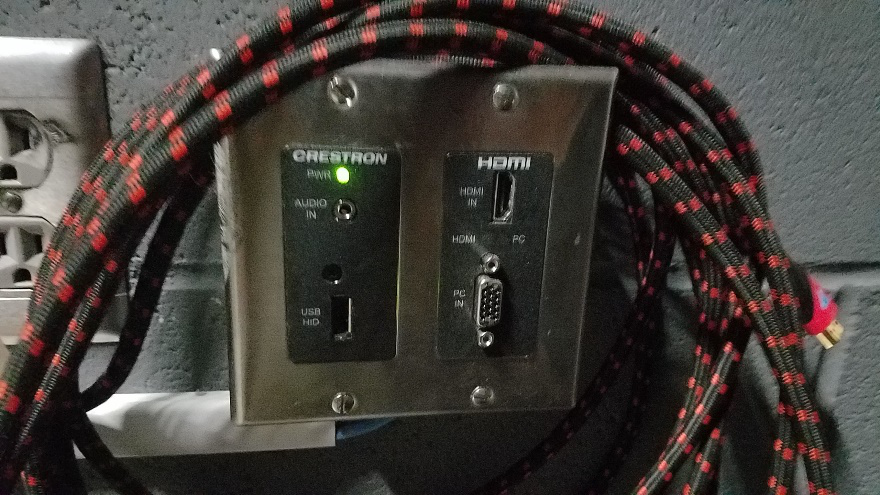
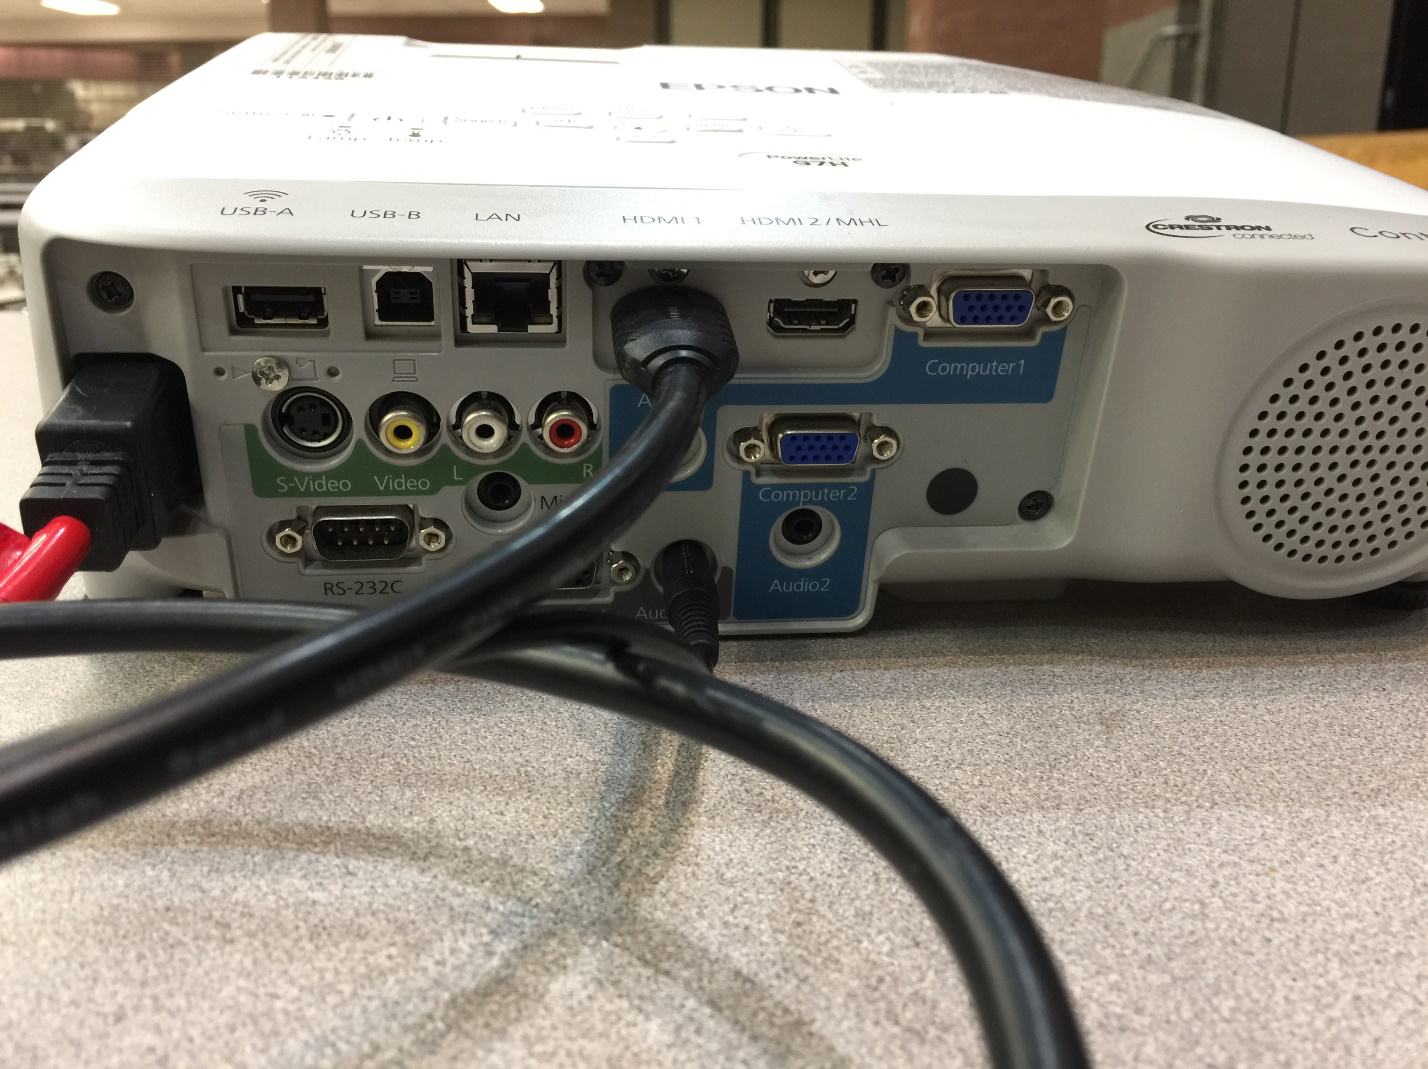
A set of inputs is located at the end of a wall at the edge of the stage interior. If you are using a laptop to display things like PowerPoints or videos, use the HDMI input. Make sure your laptop has an HDMI port that matches the one on the control panel. If you need to play music during your event, acquire an auxiliary cord from the Activities Center. Plug one end of this cable into the “Audio In” headphone jack on the control panel, then plug the phone into whatever device you will be using to play music (Make sure this device has a headphone jack, as well). For music to play, make sure the projector controls (shown on page 5) are switched on, or no music will play.

To lower the projector screen, get the keys from the ASB Advisor or a Custodian and lower it using the controls on the right side of the commons.
Annex
The Annex can also be used for events at Jackson. The Annex has a very similar setup to the commons.
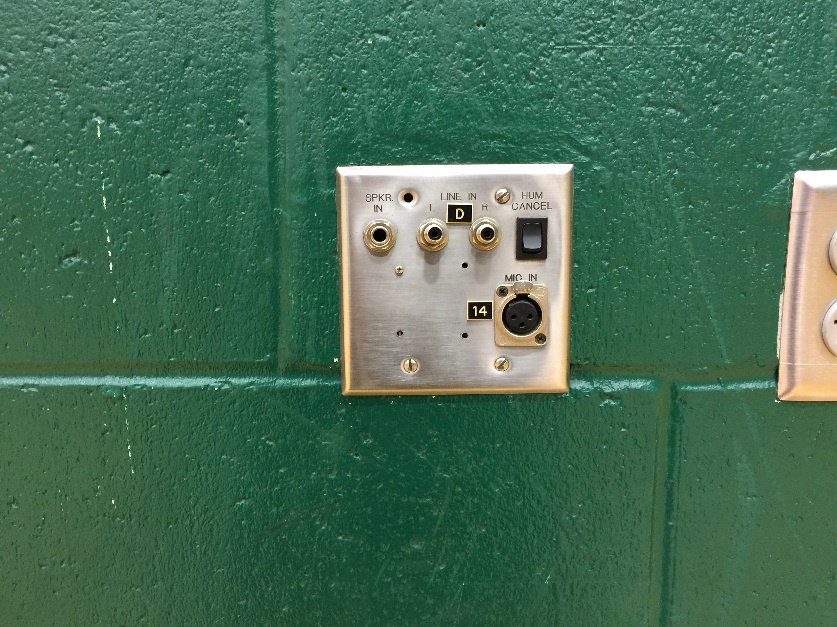
Lift the cover to access the controls. The Annex has the same projector and volume controls as the Commons (See pages 5 and 6 of Commons for more details). Make sure that if you are using a laptop, check that the HDMI input button has been pressed. If you need a microphone, ask for the Annex microphone from the ASB Advisor.
To display information from your laptop plug it in using the HDMI input that is below the projector and volume controls. This will allow you to run PowerPoints and play videos through the Annex sound system.
Gym
The Gym is used for the large-scale events at Jackson like assemblies. The gym also has a built-in sound system, with speakers on the left and right side, center, and rear of the gym.
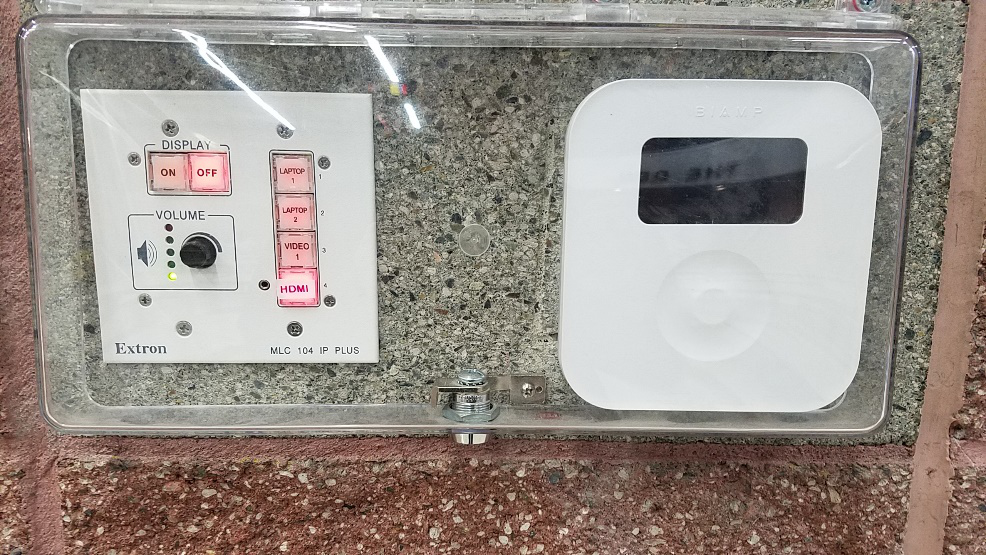
To access the controls to the speakers, go the back gym and enter through the door on the right side. There you will see several options.
To turn the system on, flip the switch in the middle of the controls. The microphones used for the gym have already been built into the sound system, so you just need to get them from the office and turn them on.
Below this switch are the switches to turn on the gym’s speakers.
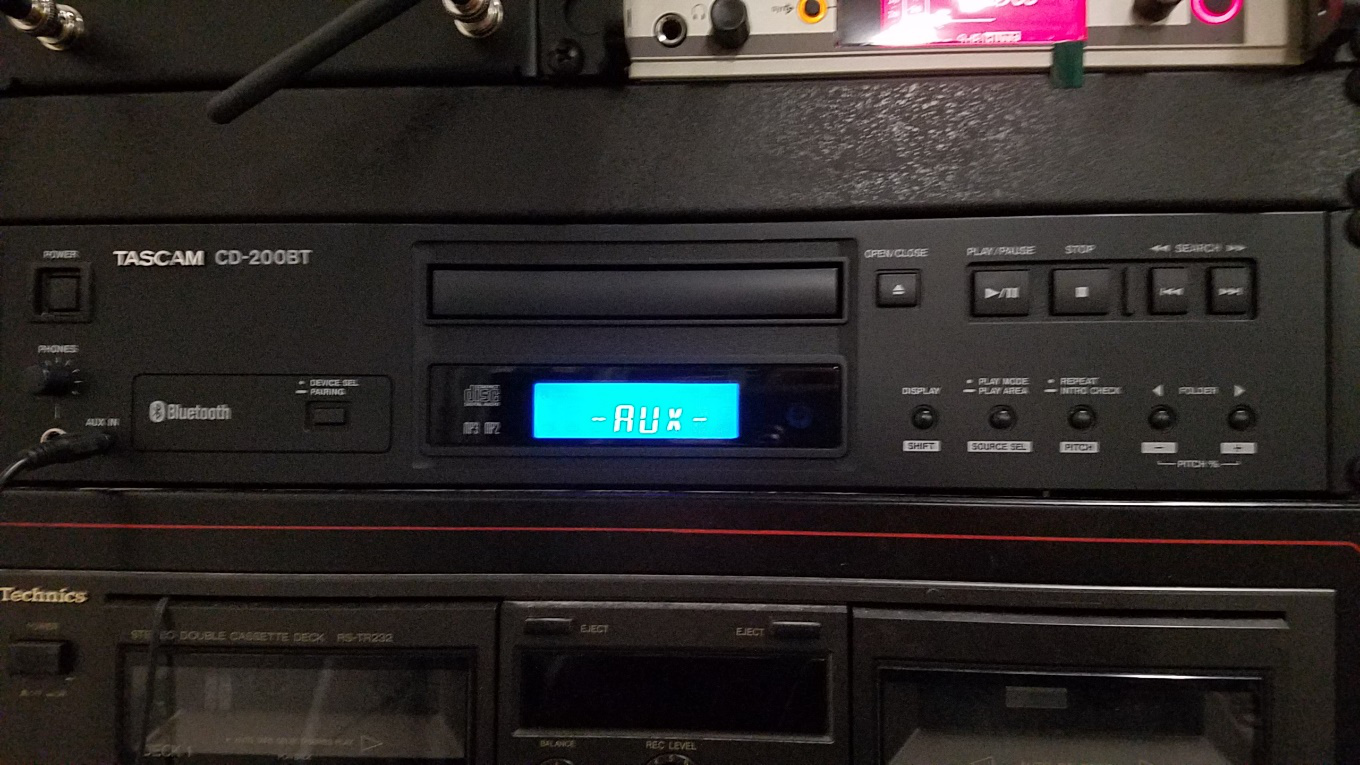
You can also run music from here using the system towards the top. It should already be set to Auxiliary mode. If the system is not in Auxiliary mode, hold down the Display/Shift button and press the Source Selection button until you see “AUX” on the screen. NOTE: An auxiliary cord must be already plugged in for the auxiliary mode to work. The system has sometimes worked on Android smartphones and sometimes has not, so the most reliable source of music would be a laptop or an iPhone with a headphone jack/adaptor.
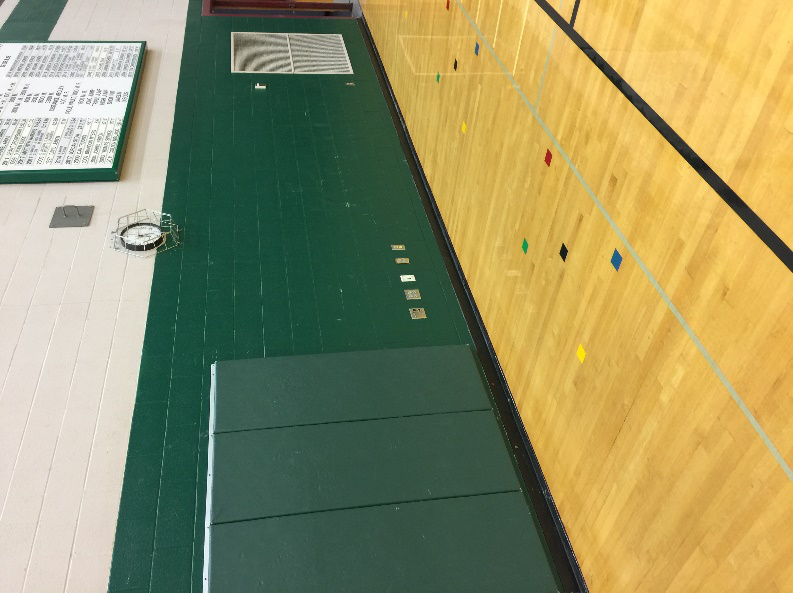
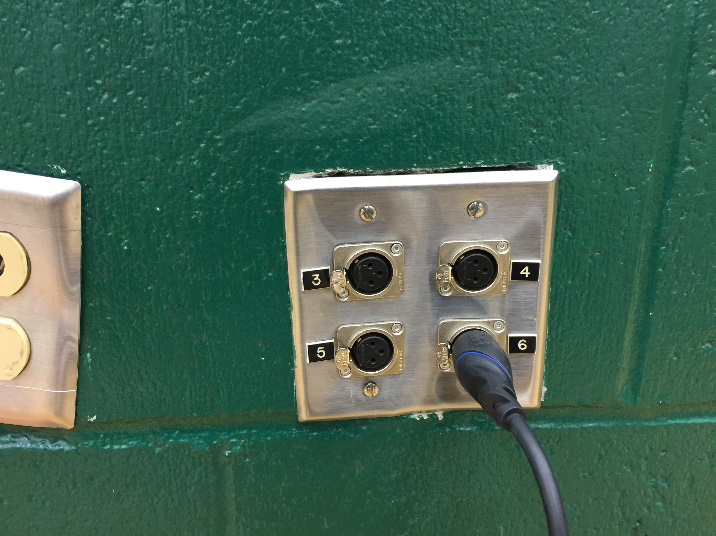
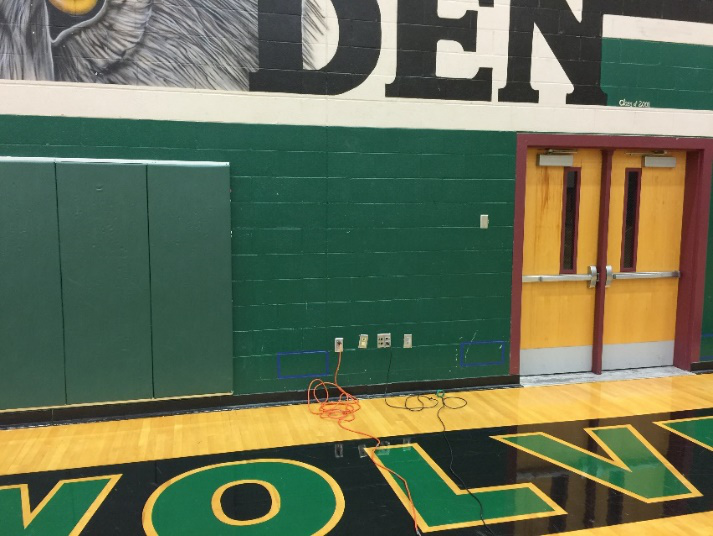
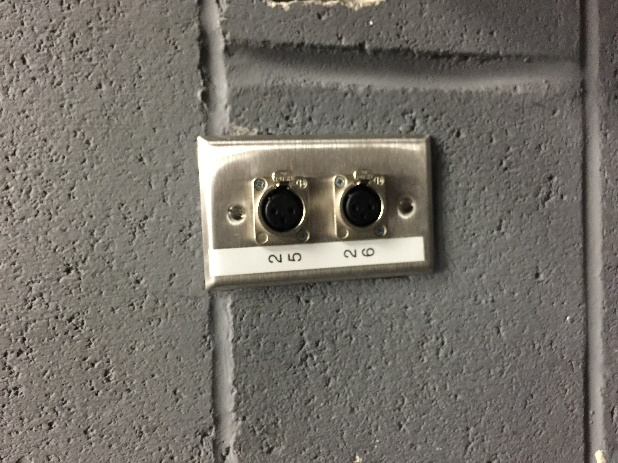
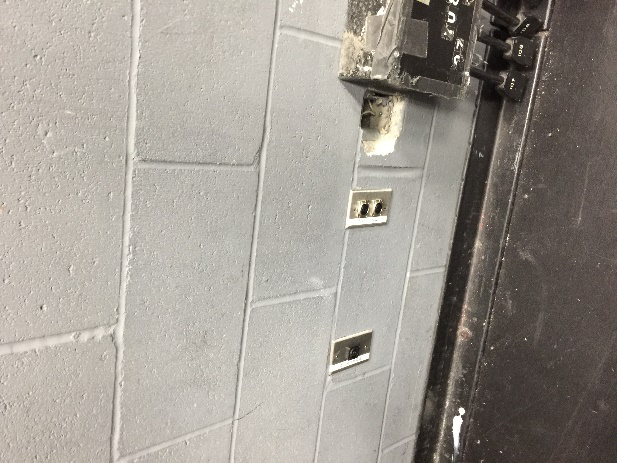
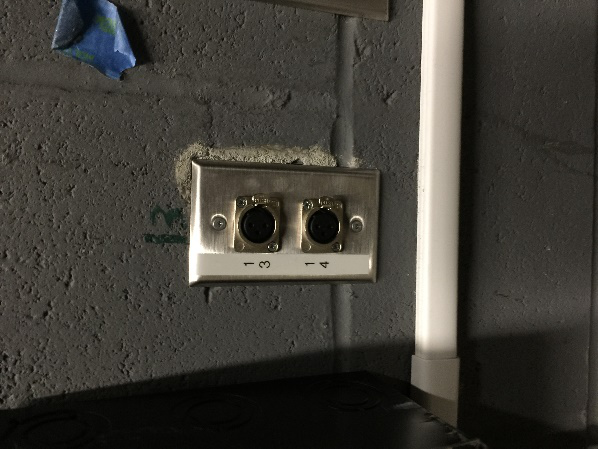
There are also several inputs placed throughout the walls in the Gym. You can plug microphone cables (sees Equipment). You can use these inputs to wire the mixer into the sound system, as well as audio from laptops. See Assemblies and The Sound Mixer for more details.
Banquets
Banquets are a common event at Jackson High School, usually for the end of things like sports seasons. Banquets can take place either in the Commons or the Annex.
Most banquets have a speaker at the event and a PowerPoint/video playing.
If your banquet has a speaker during the event, get the Commons microphones from the ASB advisor and the Annex microphone from the main office.

If you are going to be running a PowerPoint or a video, plug your Laptop into the HDMI port. HDMI chords can be found in the activities center.
Commons (Backstage) Annex
If you would like to run music from a phone, get an auxiliary cord from the Activities Center and plug them into the inputs.
Commons (Backstage) Annex
For more details on the sound setup of the Commons and Annex, see the Commons and Annex sections of the manual.
Assemblies
All assemblies take place in the gym, and will usually require speakers, videos, and music. There are small-scale and large-scale assemblies, and this section will show how to set up both. If you are setting up a large-scale assembly, please read the information on the small-scale assemblies first.
Small-scale assemblies, like pep rallies and homecoming assemblies, will require a video, speakers, and music. The first step is to turn the speakers on. You can do so from the controls in the rear gym area.
If you would like to run music from here, you can plug an iPhone with a headphone jack/thunderbolt adapter into the system above the speaker controls.
The blue screen should be displaying “AUX”. If it is not, hold down the Display/Shift button and press the Source Selection button until you see “AUX” on the screen, then music will play from the phone
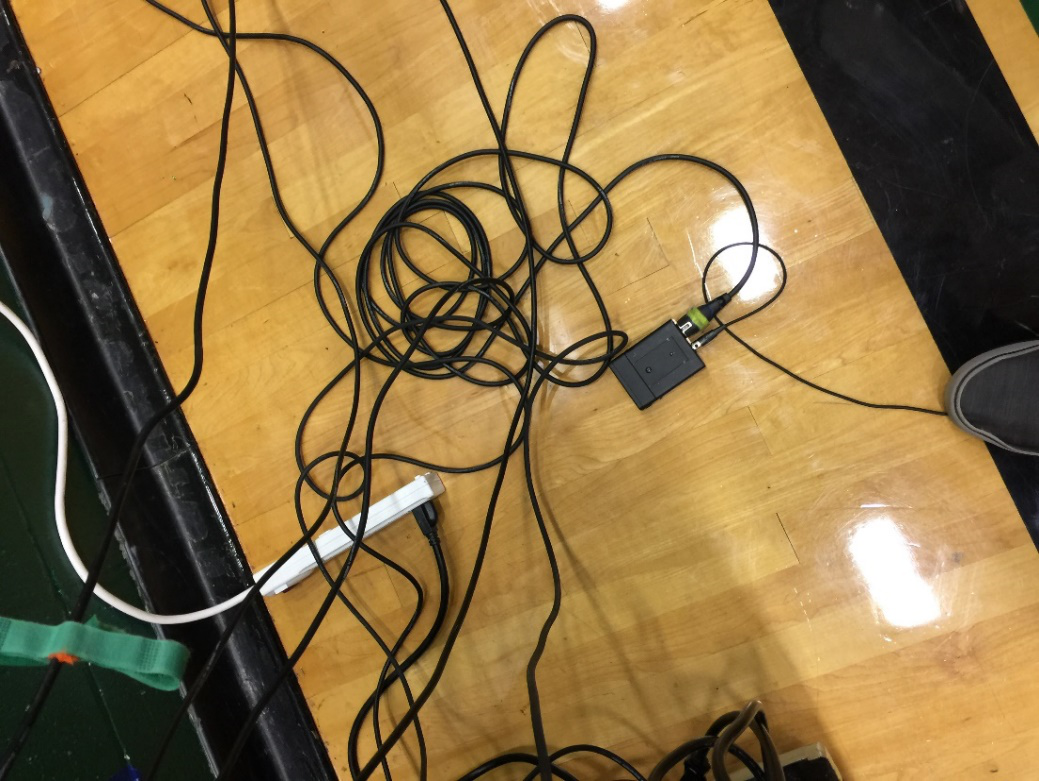
To set up the projector, find a cart to place it on. There is usually a cart backstage. The spare projector is in the commons backstage.
Roll the cart with the projector out to the gym floor. To plug the projector in to power, you need a power cable and an extension cord (see Equipment).
To be able to play video from a laptop, place it on the underside of the cart, then plug an HDMI cable from the laptop to the projector’s HDMI port.
To play audio, you will need the Auxiliary-to-XLR adaptor from the Activities Center (See Equipment). Plug the headphone jack portion into the “Audio Out” port of the projector, then connect an XLR cable (see Equipment) from the outgoing end into one of the ports of the wall. NOTE: Plugging the auxiliary part of the cable into the projector while the XLR end is plugged into the wall may result in feedback (sharp, loud noise no one wants to hear). If you want to avoid this, turn the speakers off before plugging it in. This should be what the back of the
Auxiliary Cord
HDMI Cable
Power Cable
projector should look like:
OTHER NOTE: Set the laptop’s volume at the lowest level possible without muting in case the audio comes out loud.
To lower the projector screen, go to the controls on the left side of the back gym. This is also where you can control the lights during the assembly.
Other, more complex assemblies require this setup as well as additional equipment. For example, during the Veteran’s Day Assembly, choir microphones and the sound mixer are needed for their performances.
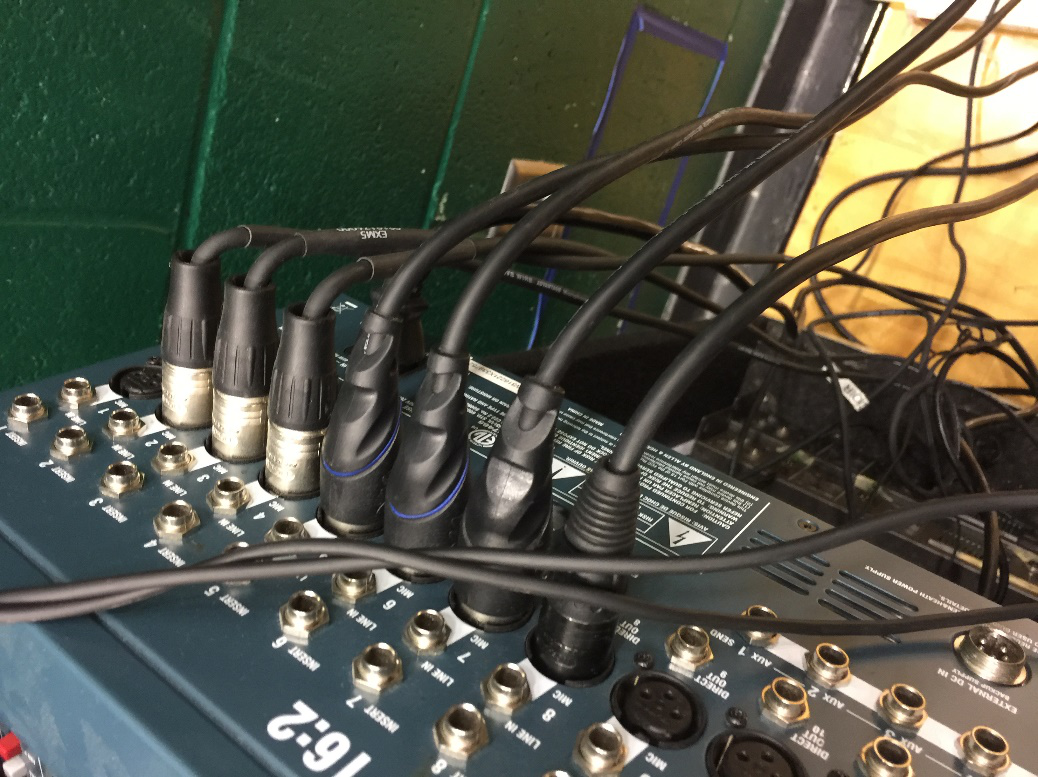
To set this up, get the choir microphones from Mr. Schell in the choir room. Use the control box to plug in the power cable, then get an XLR cable (see Equipment) to plug in to the control box and then to the mixer. Make sure the box is in an “on” position on the controls on the side of the box.
The most important thing to do once the microphones are plugged into the mixer is activate Phantom Power for all the choir microphone inputs. The microphones are extremely sensitive, so this stops them from overloading and destroying the system.
Make sure the sound mixer has an XLR cable running from its output to one of the gym inputs.
For details on how to run the sound mixer, see The Sound Mixer.
Jackson’s Got Talent/Staff Talent Show
The talent shows at Jackson require an advanced sound setup in the commons. To run the event, there are two options:
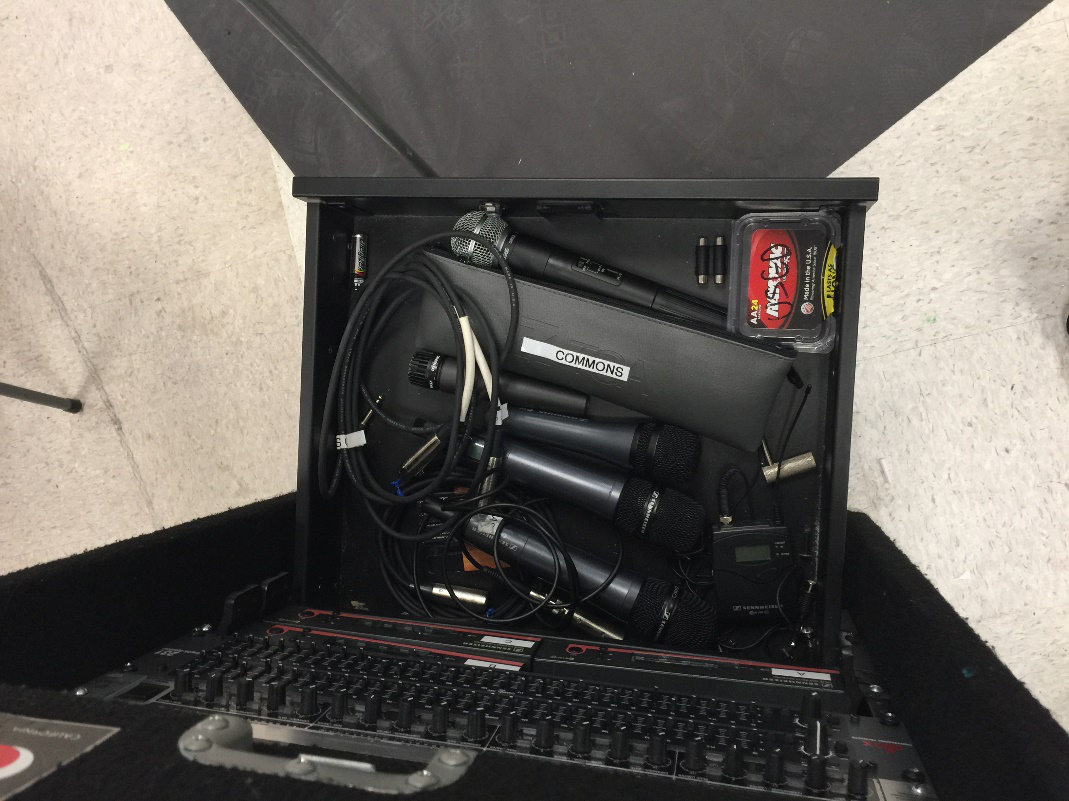
You can get the two commons microphones from the ASB Advisor, then take any wired microphones (found in the sound mixer drawer) and plug them into the house system inputs, located to the left and right of the stage. You will then be able to control them from the audio room above the commons (see Commons Audio Room).
Another option would be moving the two speakers from the closet just outside the Activities Center to the stage.
Using the Sound mixer, you can wire an XLR cable from the Main output on the mixer to the input on the first speaker, then wire another XLR cable from the output on the first speaker to the input on the second speaker.
You can use the wireless microphones that come with the mixer. If any additional microphones are needed, then the wired microphones can be wired into the mixer.
A final option would be to wire the output from the sound mixer to the input of the house system.
Equipment
When trying to coordinate an event at Jackson, several pieces of equipment can be used. These are their locations.
Most of the equipment can be found in the Blue Bin underneath the shelf on the far side of the Activities Center. The bin says “Chords, Sound Crew/ASB” on top.
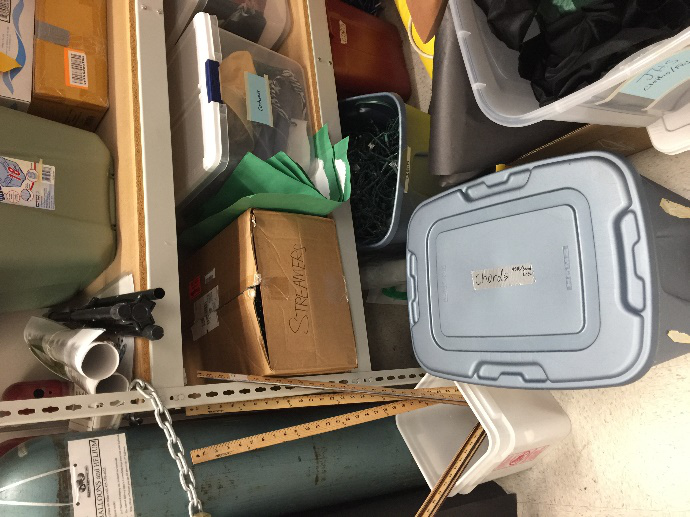
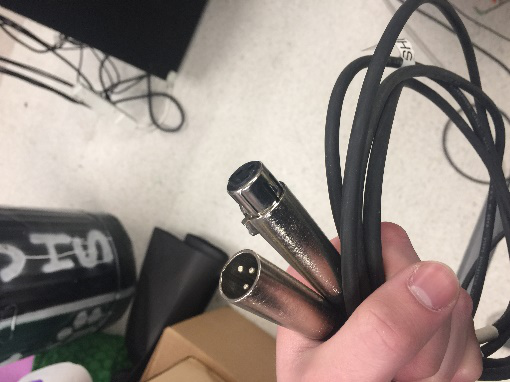
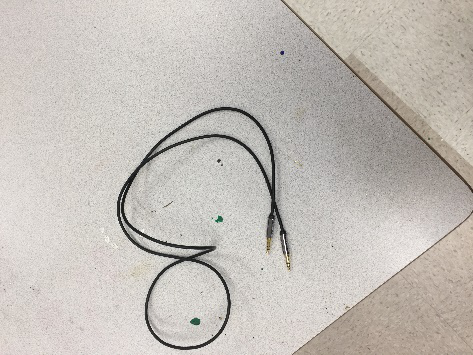
XLR Cable: Carries audio, male and female end. Location: Blue Bin
HDMI Cable: Carries audio and video. Location: Blue Bin; Activities Center Shelf

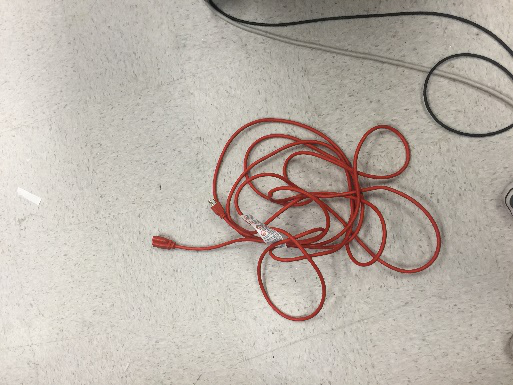
Auxiliary Cord: Carries Audio. Location: ASB Advisor Office; Back Gym
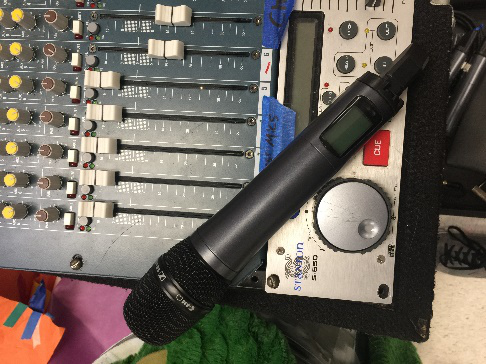
Wireless Microphone: Carries Audio. Location: Commons/Annex Mics, ASB Advisor Office; Gym Mics, Main Office; Sound Mixer Mics, Mixer Drawer
Clip-On Microphone: Carries Audio. Location: Mixer Drawer
Choir Microphone: Carries Audio. Location: Choir Classroom (B113)
Power Cable: Carries Power. Location: Blue Bin
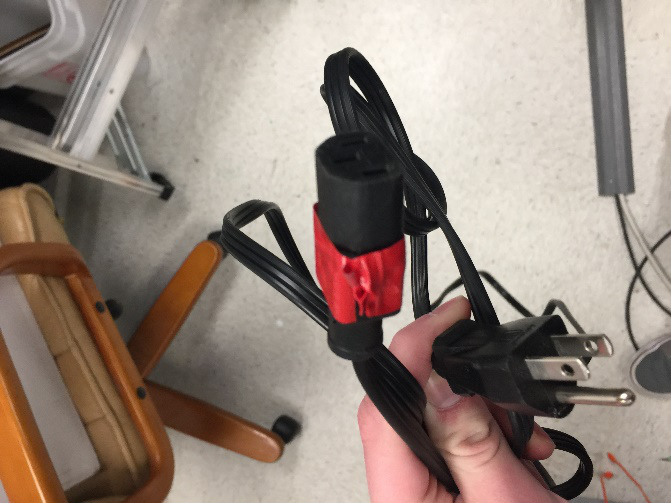
Extension Cord: Carries Power. Location: Blue Bin
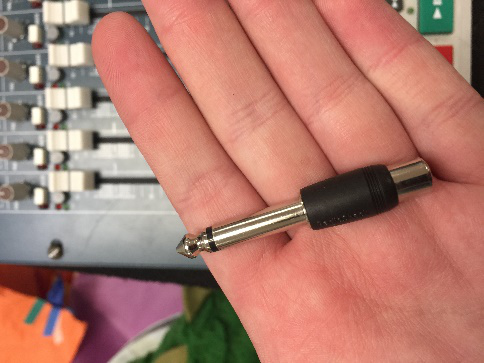
Auxiliary Cable Adaptor (1/4” to XLR): Transfers Auxiliary Signal. Location: Mixer Drawer
Auxiliary Adaptor (1/4” to 1/8”): Transfers Auxiliary Signal. Location: Mixer Drawer
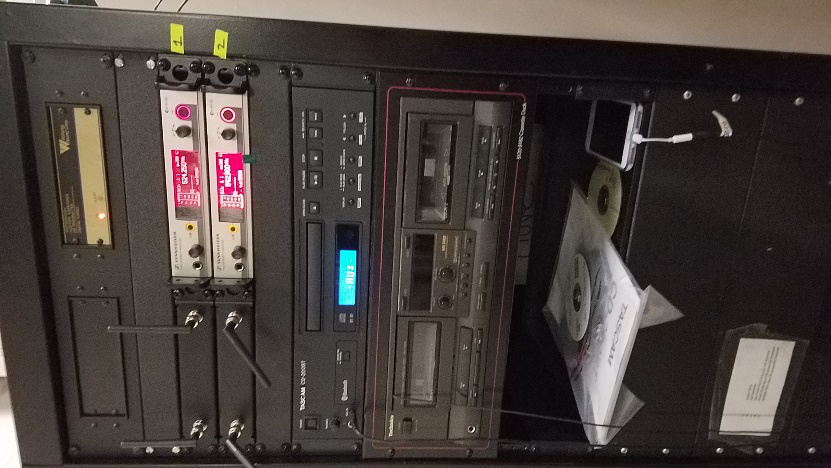
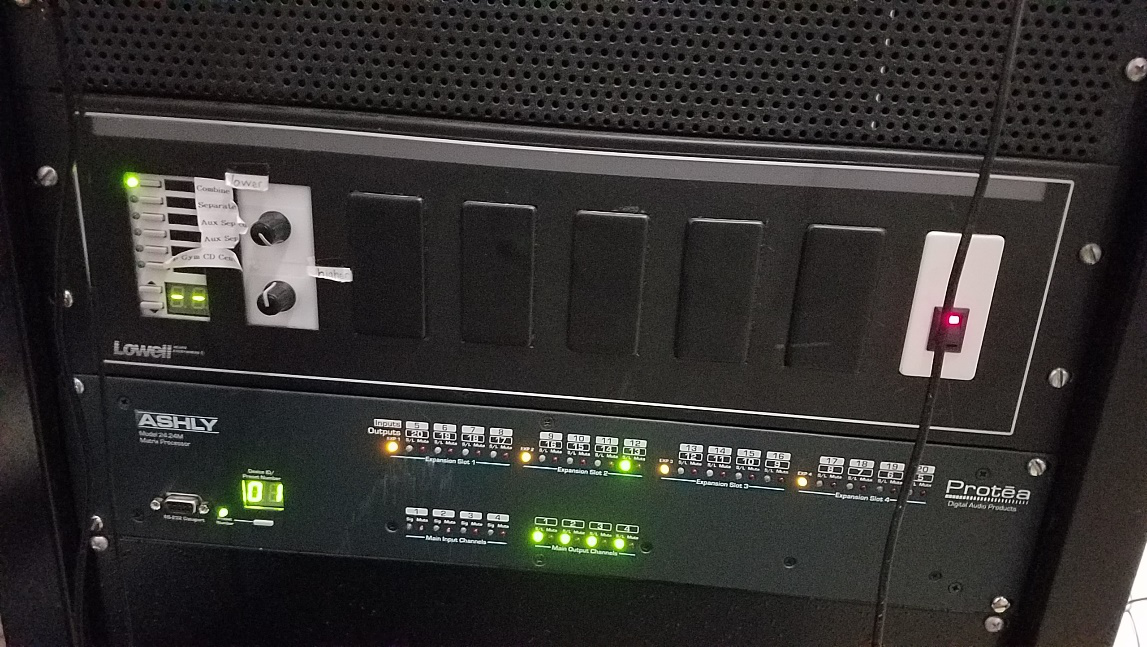
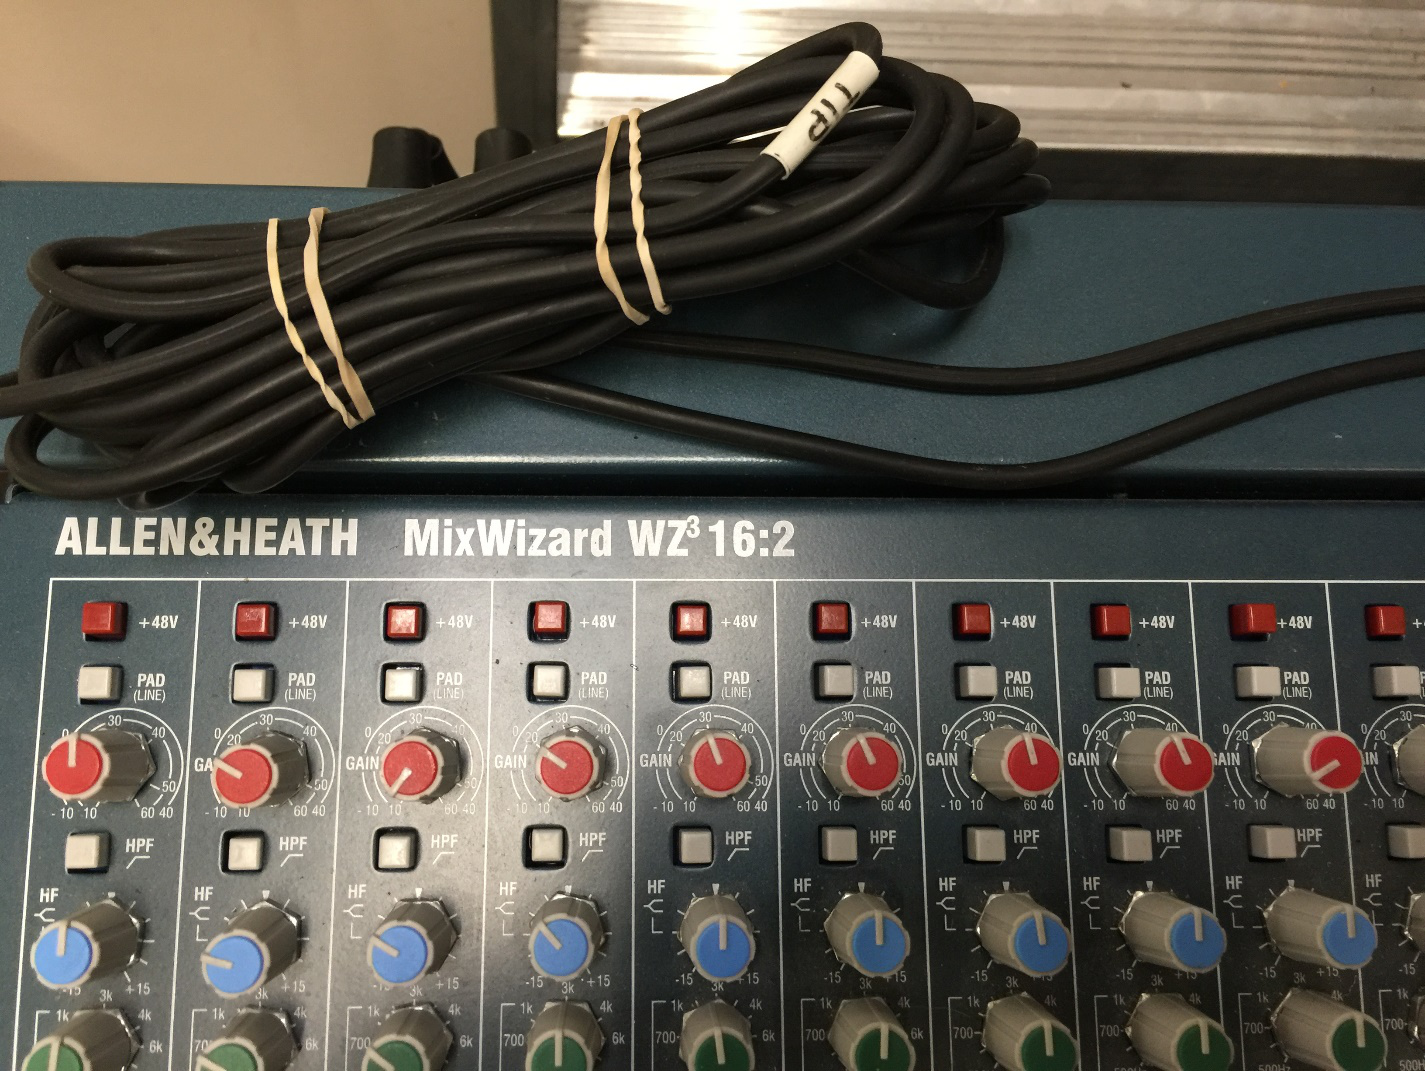
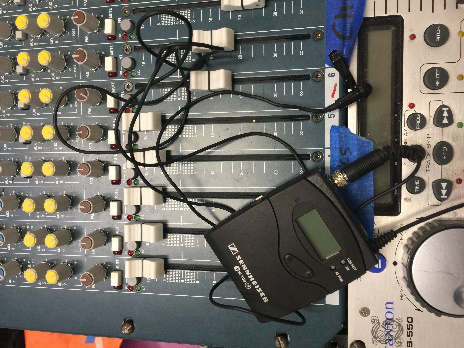
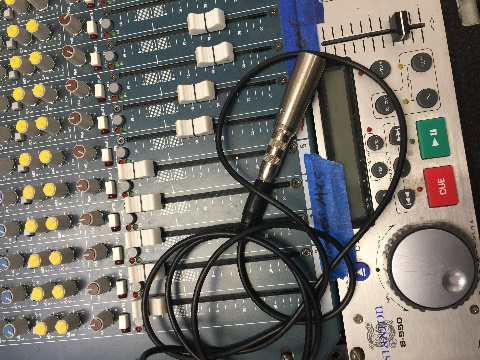
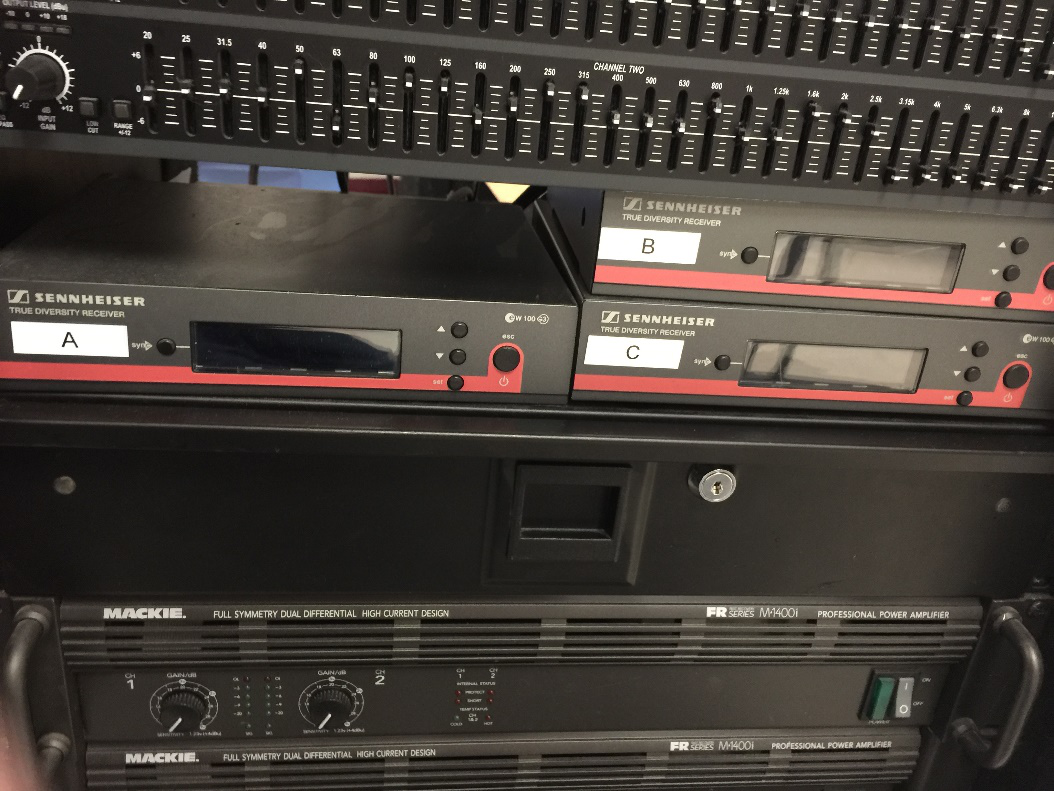
The Sound Mixer
Jackson’s sound mixer is used for various events. It takes in multiple audio signals and redirects them to a single output.
To power on the mixer, plug the power strip on the backside into a power outlet.
The mixer contains three wireless microphones, the cables for which are already plugged in to the back of the mixer.
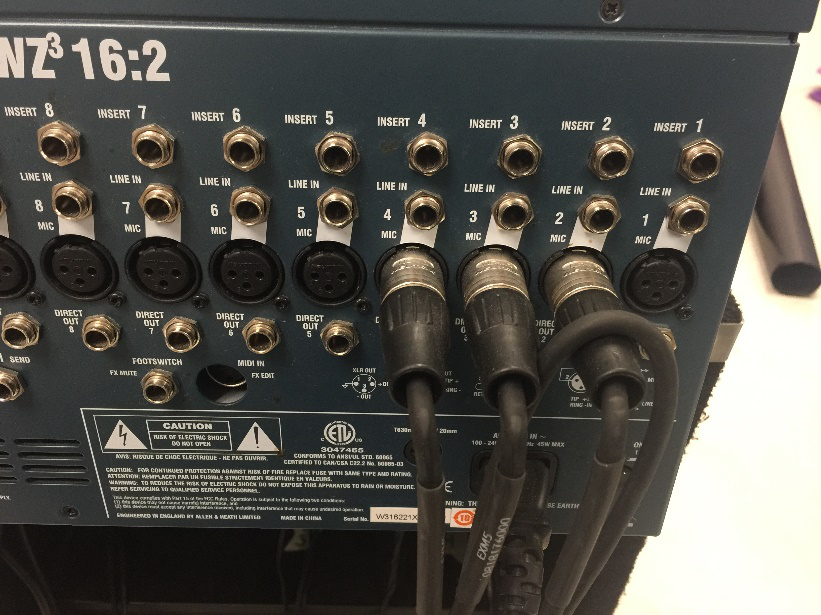
There are three outputs on the left side of the back of the mixer. The best place to put the cable is in the M (main) output.
At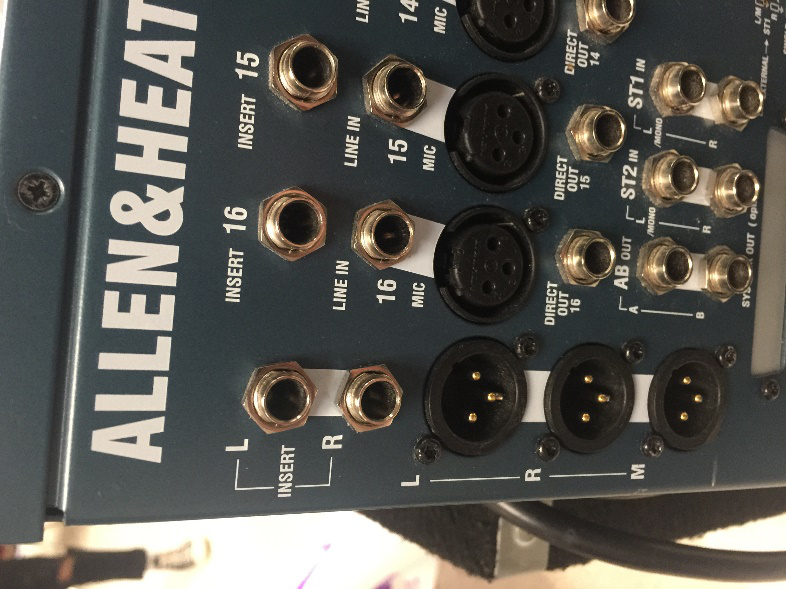
The volume is controlled in the front. Slide the pieces the up and down to match how much volume you want. Each slider corresponds to the output behind it. In order to get any kind of change in volume, make sure the main volumes are set high enough. Also, the controls to mute each input are above each slider. Push them in and a red light will come on.
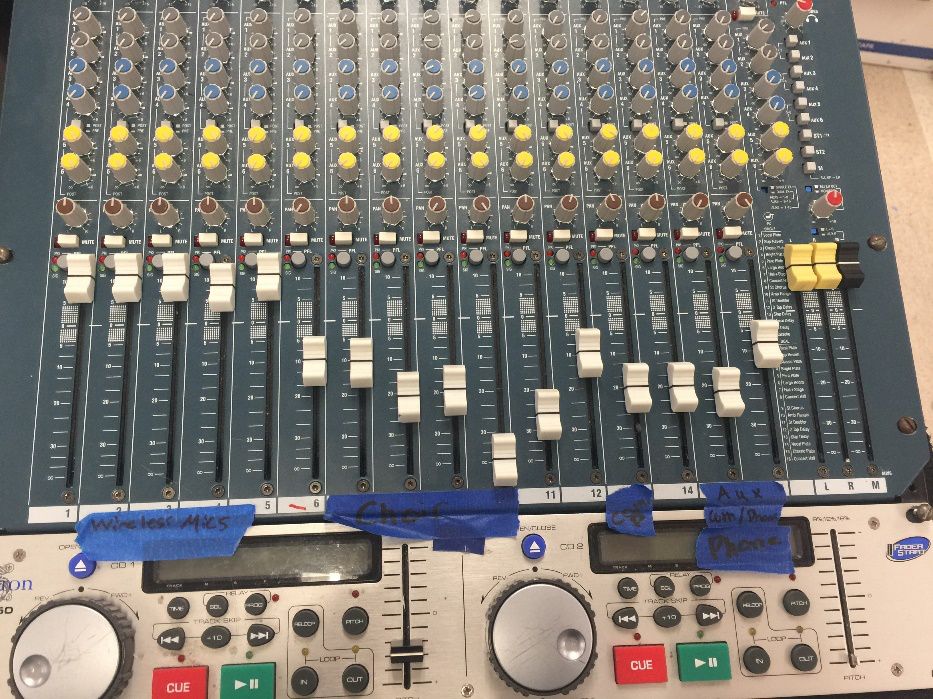
At the top of the controls are the Phantom Power buttons. If you are using a very sensitive microphone like a choir one, push these controls to stop them from overloading the system.
In the middle, you will find a drawer with microphones and additional tech supplies. One good thing to have in the drawer would be fresh batteries in case the ones in the microphones die.
The receivers for the microphones are below this drawer. If a microphone is not functioning properly, make sure the frequency (the number on the screen) matches on both the microphone and the receiver.
Commons Audio Room
The Commons Audio Room is located on the catwalk above the Commons.
Inside there is another mixer console that controls the inputs from the stage. There should be labeled XLR inputs below the console, but the setup does change from time to time. For the best advice, consult a member of Theater Society.
If Event is Not Listed
· Find which part of the school the event is taking place
· Consult the area overview chapters.
· Determine what kind of equipment is needed.
· Use the Equipment section to find their location.
· If you still have questions, consult the ASB Tech Officer.