Dimensional Communications, Inc.
Back to top
Community Resource Center
Back to top
Technology Operations Manual
January 2014
Page 2
Table of Contents
System Overview
...................................................................................................3
Getting Started
.......................................................................................................4
-Home page .............................................................................................................4
-Sources
..................................................................................................................5
-Podium
...................................................................................................................5
-Volume
...................................................................................................................5
-Microphones
.........................................................................................................5
-ALS
........................................................................................................................5
-Using a Laptop
......................................................................................................6
-HDMI/VGA..............................................................................................................6
-Using the computer
..............................................................................................7
-Document Camera
................................................................................................8
-Room Combine
.....................................................................................................9
-System
Off
.............................................................................................................9
-Touch Panel Buttons
..........................................................................................10
-Tech Notes
..........................................................................................................11
-Video Conferencing
............................................................................................12
Page 3
System Overview
This room Audio Visual (AV) system is comprised of the following devices:
Crestron Control System
Networked Computer
Laptop HDMI Connection
Laptop VGA Connection
Overhead Speakers
Podium
Projector
Document Camera
Video Conference System
This manual will assist you in the use of these devices.
Page 4
Getting Started
The Crestron touchscreen is located on the designated room podium. The touchscreen
might be in sleep mode and blank. Touching a sleeping touch screen will bring up this
page:
Home Page
Press the start page to display the Home page.
The home page provides access to the controllable devices in the room.
The touch panel has volume control, input sources, and system off icons.
Page 5
Sources
This room has three sources.
-
Laptop (VGA and HDMI) (The system will auto detect what type of signal is
present.)
- PC
- Document Camera
Selecting any one of these inputs will turn the system on.
Podium
Each podium is dedicated to a particular room. They cannot be connected randomly.
There is a label on the top of each podium that dictates the room they are dedicated to.
There is a cable whip connected to each podium as well with color coordinated jacks that
needs to be connected in the floor pocket. They must be plugged into the appropriate
jacks for the system to work properly. Blue to blue and yellow to yellow. The Network jacks
can be plugged into either jack in the floor pocket.
Volume
The volume level can be raised, lowered or muted for the source that you are using by
touching the UP, DOWN or MUTE icons on the touch panel. You may also need to adjust
levels on the laptop or PC.
Microphone
There is one lectern mic and one wireless mic system per podium. The lectern mic is
permanently mounted to the top and a handheld mic and body pack, with a head worn
mic, are in the drawer under the podium. Only one wireless mic type can be used per
podium at a time. There are separate level controls to adjust the microphone levels. It can
be raised, lowered or muted by touching the UP, DOWN or MUTE icons on the touch
panel.
ALS
An assistive listening system is also available in this space. This allows for personal
listening devices for the hearing impaired. There are several body pack transmitters that
can be tuned to the room’s specific channel and listened to with headphones or inductive
loops that can be used with some hearing aid devices. Each podium has its own
individually channeled transmitter within.
Page 6
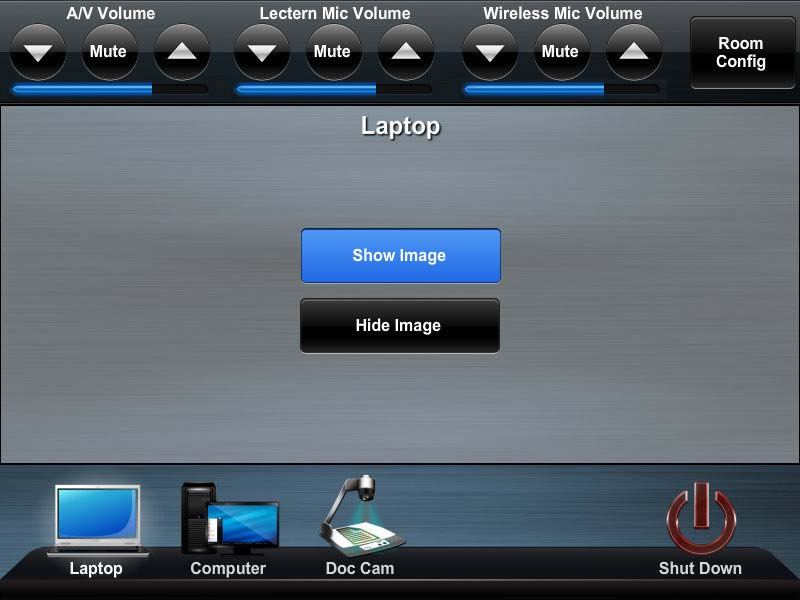
Using a laptop
Press the Laptop icon to power the system on. The laptop inputs are located in the cable
cubby on the top of the podium. There is a HDMI and a VGA (with audio) connection in the
cable cubby.
HDMI connection:
-
Plug the HDMI cable into the laptop’s HDMI port. The image will be displayed on
the screen.
The HDMI cable carries both the audio and video signals on the same cable.
VGA connection:
- Plug the VGA cable into the laptop’s VGA port. The image will be displayed on
the screen.
-
Plug the audio cable into the headphone jack of the laptop if audio is required.
* Sometimes an image will not appear after plugging in either the HDMI or VGA cables. If
this happens the user will have to manually send the image to the laptop monitor out.
Use the volume icons on the touch panel to raise and lower the audio if necessary.
The show image icon will display the image on the screen.
The hide image icon will hide the image. This is used when you need to blank the image
without turning the system off.
Page 7
Using the computer
There is a dedicated networked computer for the room located inside the podium.
Press the computer icon on the touch panel to power the system on.
The show image icon will display the image on the screen.
The hide image icon will hide the image. This icon is used when you need to blank the
image without turning the system off.
A keyboard and mouse, located on the pull out shelf, is used to operate the computer.
Use the volume icons on the touch panel to raise and lower the audio if necessary.
Page 8
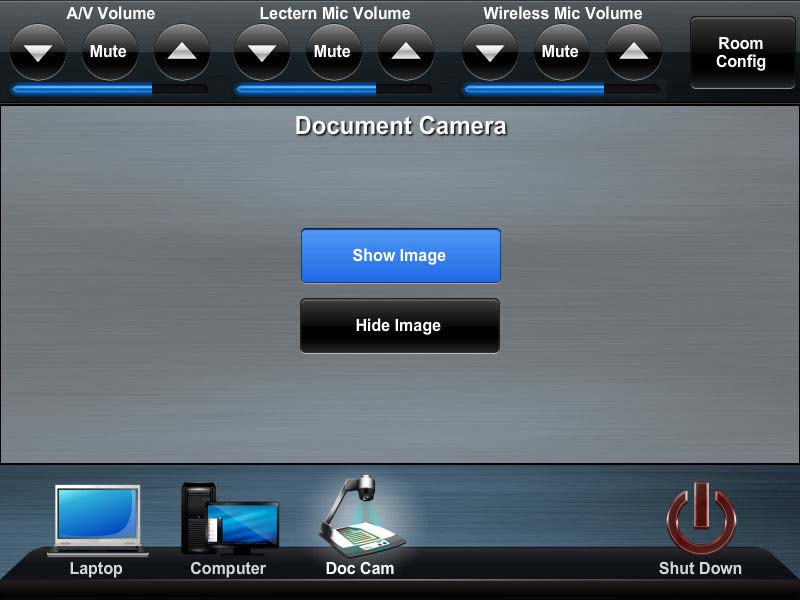
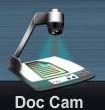
Document Camera
There is a document camera stored inside the podium. It is meant to be used with the
system.
A pull out shelf is located on the right side of the podium. Pull the shelf out to expose the
interface cables.
Set camera on shelf. Remove cover on camera to expose interface. Plug the data cable in
to the data jack. This will provide power to the camera.
Plug the HDMI into the HDMI jack. This will provide the video into the system for the
camera.
Replace cover to interface and stand camera up. This will power the camera on and place
it in the proper position for use.
Use buttons on camera to focus or zoom.
The show image icon will display the image on the screen.
The hide image icon will hide the image. This icon is used when you need to blank the
image without turning the system off.
Page 9
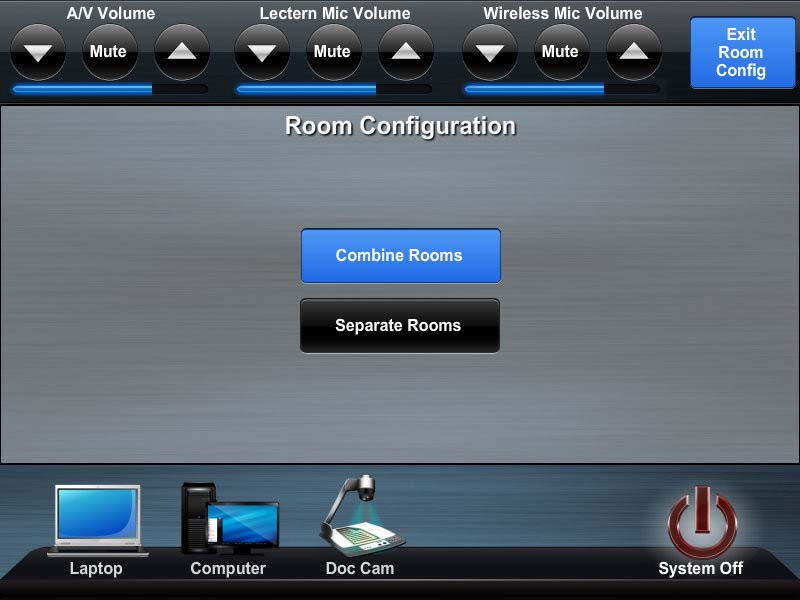
Room Combine
Rooms A and B can be combined and used as one large room. Pressing the Room Config
button in the upper right hand corner brings up the room configuration page. Touch the
Combine Rooms button to allow all sources to be routed to all three projectors. This
means all audio and video. If both podiums are connected sources from either podium can
be selected. When finished select Separate Rooms or simply turn the system off. When
powered up, the system will return to separate mode.
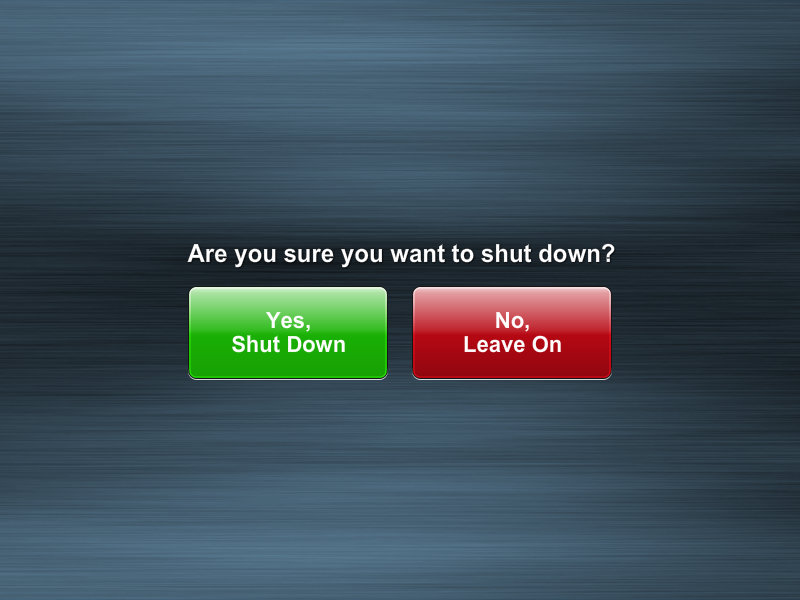
System Off
To turn the system OFF, press the System Off icon.
A page will appear asking if you are sure you want to turn the system OFF. If you are sure
press Yes, if you mistakenly pressed the OFF icon press No and the system will remain on.
Page 10
Touch Panel Buttons
Mute button. Mutes associated audio.
Volume Down. Lowers the associated audio volume.
Volume UP. Raises the associated audio volume.
This button selects the Company PC that is located in the cabinet next to the
AV rack.
Laptop button selects the device connected to the cable cubby’s VGA or HDMI
cable.
Doc Cam button selects the input located on the slide out shelf.
Pressing this icon will cancel the system off command.
Pressing this icon will shut the system off.
Page 11
Back to top
Tech Notes
The A/V (audio / visual) equipment located in the rack should remain powered up at all
times.
In general most hang-ups are going to be due to something very simple. Here are some
general guidelines to follow.
1) Replace the batteries in the wireless PC mouse and keyboard if the devices have
limited range or does not work.
2) Keep your volumes at nominal levels. This will help prevent extremely loud or low
volume conditions. In addition, volumes set at nominal levels help avoid feedback.
The system is designed to be free of day to day maintenance items. In general, keep all
equipment clean and free of dust and contaminants.
This manual’s intent is to cover the operation that is unique to this system installation.
More detail in the operation of individual components can be found in the factory provided
operation manuals.
Laptop HDMI
– HDMI is an audio / video cable that transmits audio and video to the
system. Not all laptops send audio.
-
Ensure the laptops video output is enabled if there is no image on the screen.
- Ensure the laptops audio output is not muted or turned down if there is no sound
from the room speakers.
Laptop VGA
– VGA video and audio is transmitted to the system using two cables.
- Ensure the laptops video output is enabled if there is no image on the projection
screen.
- Ensure the laptops audio output is not muted or turned down if there is no sound
from the room speakers.
Page 12
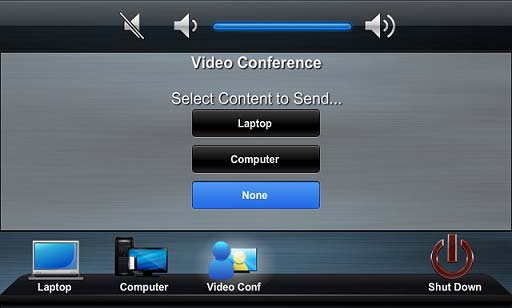
Video Conferencing
To use the system for video conferencing press the Video Conf icon.
The video conference camera is located below the screen.
The microphones are located in the ceiling.
The LifeSize remote control is required to perform a video conference call.
Press the Laptop icon to send laptop content to the far side of the conference call.
Press the Computer icon to send computer content to the far side of the conference call.
Press the None icon on the touch panel to stop sending content to the far side of the call.
Use the volume icons on the touch panel to raise and lower the audio if necessary.
The following CRC rooms have video conference equipment:
1.
Whidbey Island Room
2.
Camano Island Room
3.
Silver Lake Room
4.
Monte Cristo Room
5. Cascades Room
6.
Mount Pilchuck Room
7. Olympics Room
Page 13
Touch Panel Buttons
Mute button. Mutes the ceiling speakers. Does NOT mute the microphones
during a conference call.
Volume Down. Lowers the ceiling speaker’s volume.
Volume UP. Raises the ceiling speaker’s volume.
This button selects the Company PC that is located in the cabinet next to the
AV rack.
Laptop button selects the device connected to the cable cubby’s VGA or HDMI
cable.
Video Conference button selects the video conference system.
Pressing this icon will cancel the system off command.
Pressing this icon will shut the system off.
Back to top